Showing posts with label My Sheri Crafts. Show all posts

My Sheri Crafts #191

Christmas

Design Team Sister, Sue wants us to create something with at least 3 dimensional embellishments... and do it in a Christmas theme.  I love this theme because I'm usually a last minute person and this one lets me have enough time to get ready for Christmas!  Come and join us at My Sheri Crafts and show us your project that includes all sorts of fun embellishments.


I decided to go with a tag.  This is actually large enough to hold a gift card in the back.  I do hope it's enough embellishments.

  • Paper from Recollection
  • Tag is from Cricut cartridge:  Tags, Bags, Boxes, and More  
  • "Merry Christmas" is a stamp
  • Flourish is from Spellbinders 
 
Thanks for looking!

Now... it's your turn to create something spectacular and join us over at  My Sheri Crafts

My Sheri Crafts #190


Design Team Sister, Glenda came up with our current theme... travel.  Come and join us at My Sheri Crafts and show us your project that features any mode of traveling.

I am completely out of birthday cards so I decided to use this theme to create one for a little boy.  What little boy doesn't like planes, right?

This shaped card is from Cricut Cartridge: Wild Card 2.  I added the sentiment "Happy Birthday" that was printed on the computer using Curlz font.  The windows and windshield part was covered with Liquid Glass from Close to My Heart to add a shiny effect
 
Thanks for looking!

Now... it's your turn to create something spectacular and join us over at  My Sheri Crafts

My Sheri Crafts #189


September 9th is National Teddy Bear Day and our awesome leader, Sheri, is asking you to make any project that includes... what else... a Teddy Bear.  Come and join us at My Sheri Crafts and show us your Teddy Bear!


My project for this theme is an altered Planter's Peanuts can.  I save these cans because you can reuse them for so many things.  I've made pencil/pen holders and even coin banks from these as you can see from the links below:

Altered Cans
Coin Bank
Support our Troop 
Coin Banks

The background paper used to cover the can is a thick cardstock from DCWV Pet stack.  I have a stamp I got from Michael's Crafts that says "one of the secrets of a HAPPY LIFE is continuous SMALL TREATS" that was just a little too big for the can so I printed it on the computer instead


I put a bow on the bear and sadly... used hot glue to stick the little critter on to the can

To complete my project... you got it... filled it up with treats!
 
Thanks for looking!

Now... it's your turn to create something spectacular and join us over at  My Sheri Crafts

My Sheri Crafts #188


It's that time of the year again when the kiddos go back to school!  To celebrate this glorious occasion (yes glorious... I call it "my alone time"), I got to choose this challenge theme for My Sheri Crafts.  Come join us and create any project with a school theme!
 

I've always wanted to make one of these crayon / pencil wreaths.  I finally made one for a friend that works at our local elementary school.  At Michael's Crafts, I found this monogram wooden wreath base.  I thought it was the perfect thing to use so that I could personalize it for my friend.  

I covered the "M" using DCWV paper.  The "Ms. Martin" was created using SCAL.  I outlined the mini chalkboard with Stickles.  The school bus and the "READ" are recycled elements from an older project My Sheri Crafts #92 which no longer exists.

Four boxes of Crayola 24-pack crayons was used up for this project.  Can I just say... this is one HEAVY wreath... fragile too!  These crayons break so easily so I hope this wreath doesn't fall down
  • Papers from DCWV
  • 4 24-pack Crayola crayons
  • "Ms. Martin" was designed in SCAL and cut with the Cricut
  • Chalkboard bought from Michael's Crafts
  • "READ" is from a Cricut cartridge (can't remember which one)
  • School bus is from a Cricut cartridge (can't remember which one)

Thanks for looking!

Now... it's your turn to create something spectacular and join us over at  My Sheri Crafts

My Sheri Crafts #187


The Summer Olympics will start next weekend in Rio.  To celebrate this event, Design Team Sister, Sarah, had asked us to create any project with a sports theme.  Join us to help support the Olympics over at My Sheri Crafts

For this theme, I wanted to showcase my son's first ever race.  This was a casual race just for kids at Walt Disney World in January 2016.  It was only 1 mile long and without practice and running through mud (since it had just finish raining), he did it in less than 10 minutes.


He was so HAPPY to get his medal!


This is a 2-page scrapbook layout.  They are each 8" x 8" layout pages.  I started an album to store all of our race bibs... and this was the first one I actually made into a layout

  • Layout size: 8" x 8"
  • Papers from DCWV
  • "my first race" was designed in SCAL and cut with the Cricut
  • "I DID IT!" was designed in SCAL and cut with the Cricut
  • "Running Mickey" was an image I printed out from the internet
  • Journaling was printed out using Word Document

Thanks for looking!

Now... it's your turn to create something spectacular and join us over at  My Sheri Crafts

My Sheri Crafts #186


Continuing on with the summer theme, Design Team Sister, Glenda, has asked us to make any project that features  ice cream.  Oh yeah!  My favorite type of treat is this week's challenge over at My Sheri Crafts

I took advantage of this theme to make my niece, Emma, a birthday card.  It's the perfect theme since her birthday party is a "sweets" theme


I made a variation of step A card.  2" x 4.25" for the left panel to fit the ice cream and 3.5" x 3.5" for the shorter panel to fit the "4" since Emma is turning 4! I know you can't see it, but every element is popped-up for dimension

  • Card size: 5.5" x 4.25"
  • Papers from Basic Gray
  • Ice cream is from Cricut cartridge: Sweet Treats
  • Embossing on ice cream scoops from Cuttlebug: D'vine Swirl
  • Embossing on ice cream cone from Cuttlebug: Mandarin Screen
  • Stamp: "happy birthday" colored with Copics markers
  • Stamp: "small present" colored with a glitter gel pen
  • Tiny pink flowers are a Fiskar punch
  • Glitter on ice cream scoops are Stickles
  • "Emma" is cut in SCAL - font: Aldhabi
  • "4" is cut in SCAL - font: Impact

Thanks for looking!

Now... it's your turn to create something spectacular and join us over at  My Sheri Crafts

My Sheri Crafts #185


It's summer time!  Design Team Sister, Sue, has asked us to make any project that has a beach or seaside theme for this week's challenge over at My Sheri Crafts

I chose to go with "flip flops" and the straps and sentiment are all popped up for a bit of dimension


This isn't a card you can open up but more like a postcard where you can write on the back.  It will fit a regular note card (A2) envelope


Yes, I know... a little design flaw.  It's not that easy to write on the back with all the popped up elements on the front :P 
 

  • Papers are DCWV
  • Flip flop cut is from Cricut cartridge: Pink Journey
  • "missing you" is a stamp
  • Green leaves is a Sizzix die cut

Thanks for looking!

Now... it's your turn to create something spectacular and join us over at  My Sheri Crafts

My Sheri Crafts #184


It's a color theme!  Design Team Sister, Peachy, has chosen this week's theme over at My Sheri Crafts in honor of our upcoming holiday.  Make any project in red, white, and blue

My project is a decor to hang on the door (for inside).  I saw a red, white, and blue ribbon and used that as my inspiration.  I made a giant ribbon to display the "4th of July"


The circle portion is 12" in diameter and with the tail, it's 22" tall


The "4th of July" is from Cricut cartridge: Phrases.  I used embossing powder on "July" and I didn't realize I didn't have red embossing powder, so I used glitter for the "4th of" to make it sparkle.  Both "4" and "July" are popped up
 
  • Papers are DCWV
  • "4th of July" is from Cricut cartridge: Anna's Garden
  • Blue scalloped circle is a Spellbinder die cut
  • Red, white, and blue stars are buttons
  • Red, white, and blue ribbon was from DT sister, Charlotte

Thanks for looking!

Now... it's your turn to create something spectacular and join us over at  My Sheri Crafts

My Sheri Crafts #183


This week at My Sheri Crafts, it is my turn to choose a theme...  I chose to go with tags.  Make any project that features a tag!  

I decided to make a non-traditional tag-shaped tag.  I got the inspiration from walking around Walmart of all places... I saw some tags shaped like feet and hands for newborn presents.  I thought they were the cutest things so I said to myself... "why not?"  I am going to start making more tags shaped like different objects


  • "Happy Birthday" is a stamp
  • Papers are K & Company
  • Butterfly is from from Cricut cartridge: Anna's Garden
  • Rolled up flowers are Sizzix die cut
  • Purple paper flower is from a Fiskar flower punch
  • Flourish are Cheery Lynn die cuts

Thanks for looking!

Now... it's your turn to create something spectacular and join us over at  My Sheri Crafts

My Sheri Crafts #182


This week at My Sheri Crafts, DT sister, Sandy, had asked us to create a project with lots of bling or pearls.  I chose to go with pearls in particular.  I decided to make a card with a kimono and Japanese flowers.   The Japanese characters are "Happy Birthday" in Kanji.  I plan to give this to my youngest daughter.  She is currently  infatuated with anything Japanese.  You can't tell from the picture but the kimono is popped up for more dimension


  • Kanji characters are printed on photo paper
  • Papers are DCWV
  • Kimono and the white flowers are from Cricut cartridge: Pagoda
  • Pink blossoms are from Cricut cartridge: Pretty Packages
  • Flourish are Spellbinders

Thanks for looking!

Now... it's your turn to create something spectacular and join us over at  My Sheri Crafts

My Sheri Crafts #181


Check out the newest theme over at My Sheri Crafts.  It's all about 3D!  Nothing flat, according to DT sister, Sarah.  So, I'm taking this opportunity to showcase my newest addiction... making my own Mickey ears.  That's right!  I started making my own Mickey ears in January 2016.  I participate in a lot of runDisney events and they always have a theme.  As I write this blog, I'm actually on a plane to Disneyland to run the Tinkerbell 10K / half marathon challenge this weekend.  This is my third Mickey ears (I will share the first two I made when I get back home).


I started off with one of those headbands you get at JoAnn's for $1 each and remove the fabric covering (you end up with a thin plastic headband ready to be covered). I take two balsa wood circle shapes from the wood aisle and clip a little portion of each so it can sit flat on the head band. All 3 pieces are then covered with felt. I just use black felt because I actually like it to be black ears. Once you get the black band/ear base... it's time to decorate!


I got the Tinkerbell cake topper from our local grocery store bakery. I took a couple of 2" silk flowers and layered them for her to sit on. The flourish and small paper butterfly in the back are Cheery Lyn die cuts. The small leaves are Sizzix die cuts. The flowers are all a mixture of silk, plastic, and rolled paper die cuts. The metal butterflies were part of some old embellishment pack I got from Michael's. I also brushed all the flowers with glitter glue to add more sparkles!


Thanks for looking!

Now... it's your turn to create something spectacular and join us over at  My Sheri Crafts

My Sheri Crafts #180


After a SUPER long break... I'm back!  What a great time to be back too just in time for a fun new theme over at My Sheri Crafts.  It's all about making shaped cards.  No traditional square or rectangular cards.


* Folded over

My project is a dog card.  I found a clipart image online.  I created different layers on Adobe Photoshop for the different colors to turn it into an SVG file.  Then I cut each layer with my Cricut.


* Standing up (you can see a little of the inside of the card) 

I wasn't quite sure of what occasion to use this card for just yet so I left it without any sentiments.  I added the rainbow ribbon and used a bone button I've had in my stash for a topper.  I can always remove the ribbon if I decide to give it to a boy.


 Card size: 5.5" x 7.25"


Thanks for looking!

Now... it's your turn to create something spectacular and join us over at  My Sheri Crafts

My Sheri Crafts #164


Check out the newest theme over at My Sheri Crafts. It's all about reaching out to those you haven't seen in ages.  We've all made these types of cards... thinking of you... miss you... hello...
Well it's time to showcase those cards or project!
 

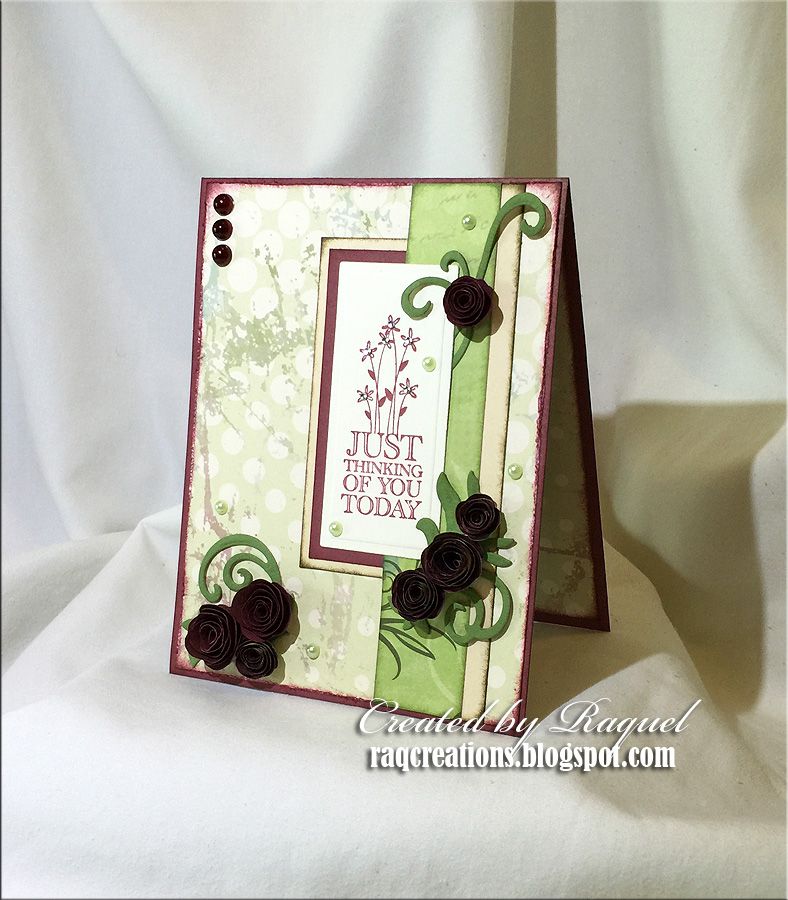
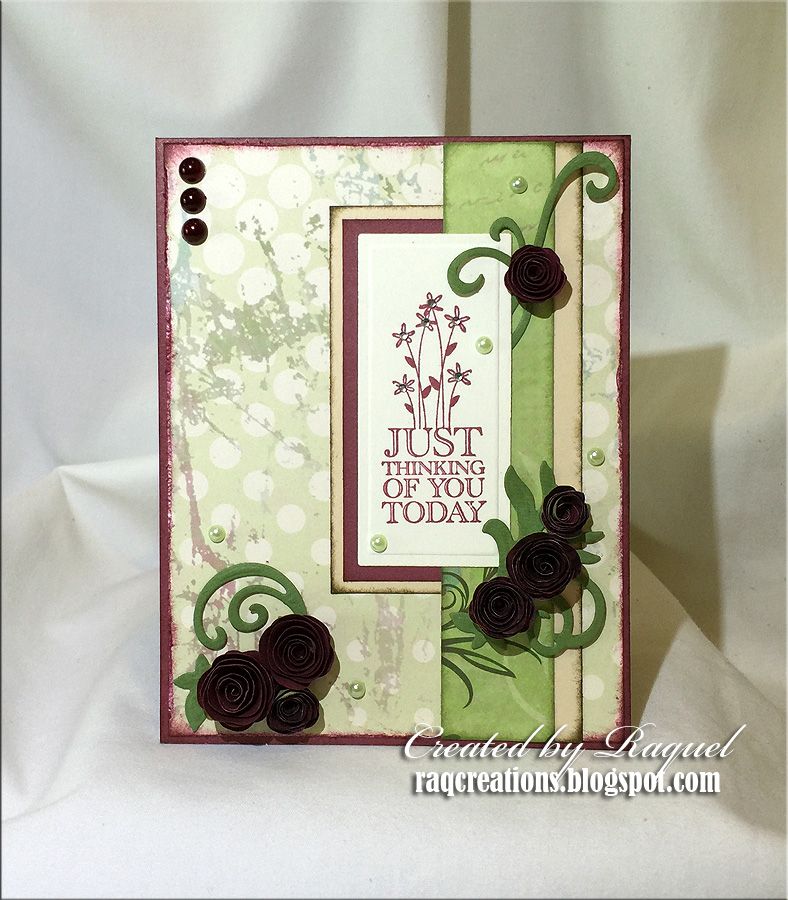
I have been hoarding a lot of papers and I decided to use up some from Close to My Heart.  This is from the Wings collection.  The stamp is from Michael's Crafts.  Flourish are Spellbinders.  The rolled up flowers are Sizzix.  I think I used up too much inking... the flowers look black!  LoL!  They are actually very dark burgundy


Card size: 4.25" x 5.5"


Thanks for looking!

Now... it's your turn to create something spectacular and join us over at  My Sheri Crafts

My Sheri Crafts #163

It's time to take a break from card-making and on to other crafts.  The newest theme over at My Sheri Crafts is to create any decor project.  Design Team Sister, Sarah, wants to see your decor... so let's show them to her!


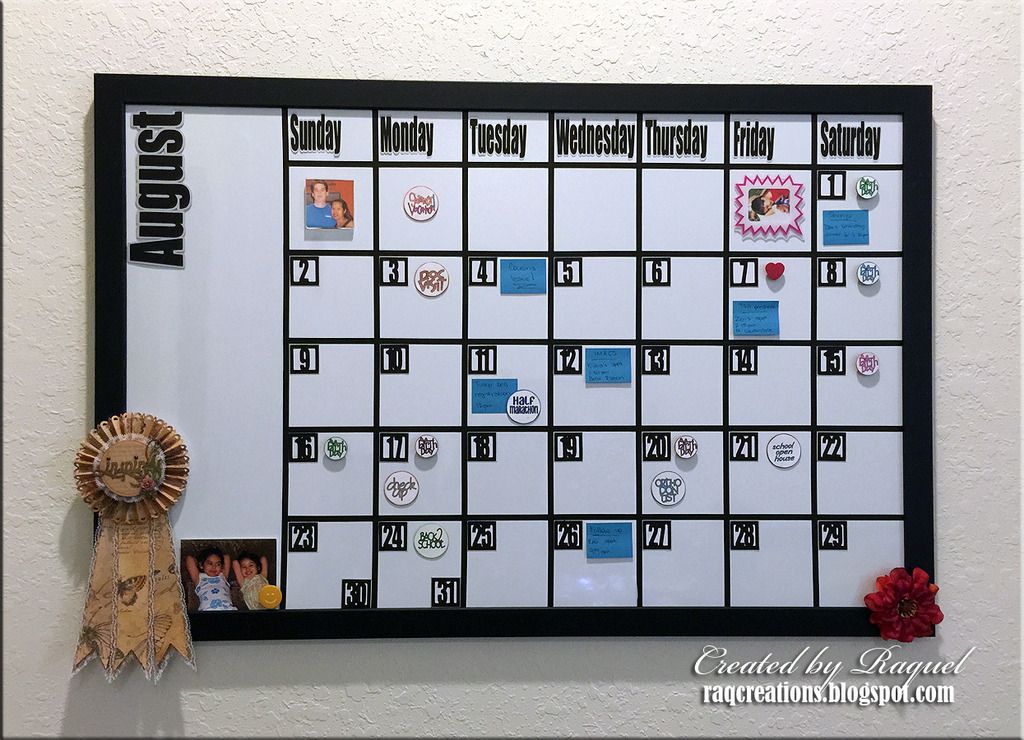
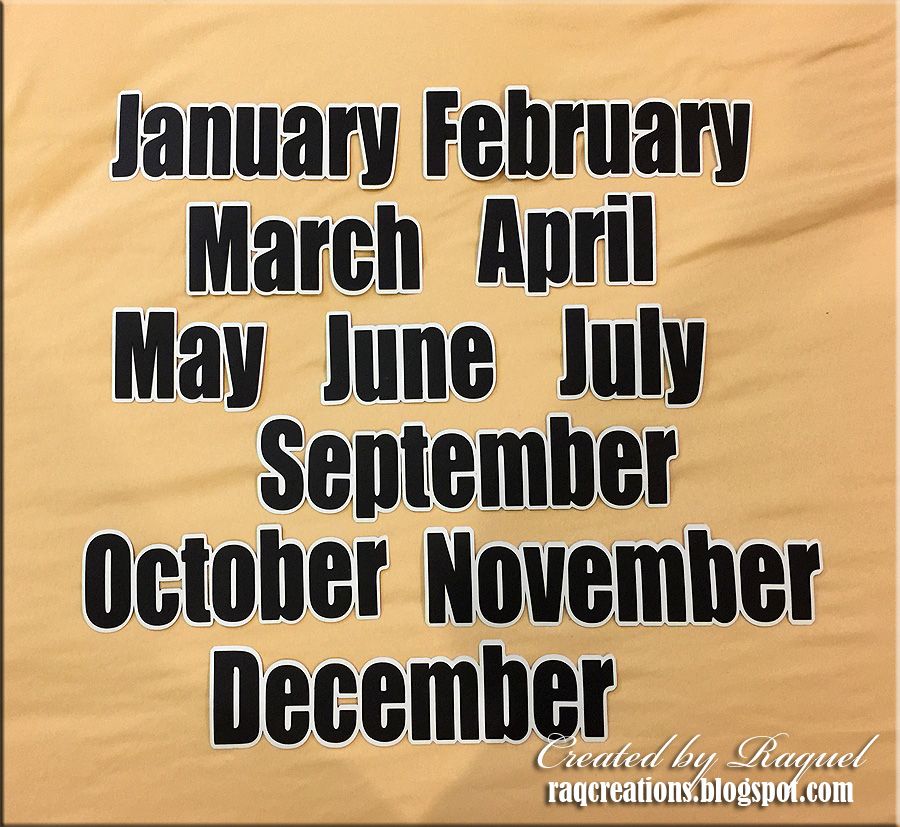
A couple of years ago, I made a calendar for My Sheri Crafts #92 for a school themed project.  Since I only used that calendar specifically for school events (and it no longer exists), I decided to make a new one.  This one is a bit more modern to match my craft room... that's where it lives.  It is a magnetic dry erase white board.  I use it for all my monthly events.


Some of you may recognize the ribbon... yes, it's from My Sheri Crafts #91... Yeah ok... so I make a lot of crafts and I don't always use them all or give them away.  They end up somewhere hung up or displayed in my house.  Also, the picture of the girls next to it... yeah, that's like 9 years old but my teenagers don't want any pictures of their current selves displayed anywhere


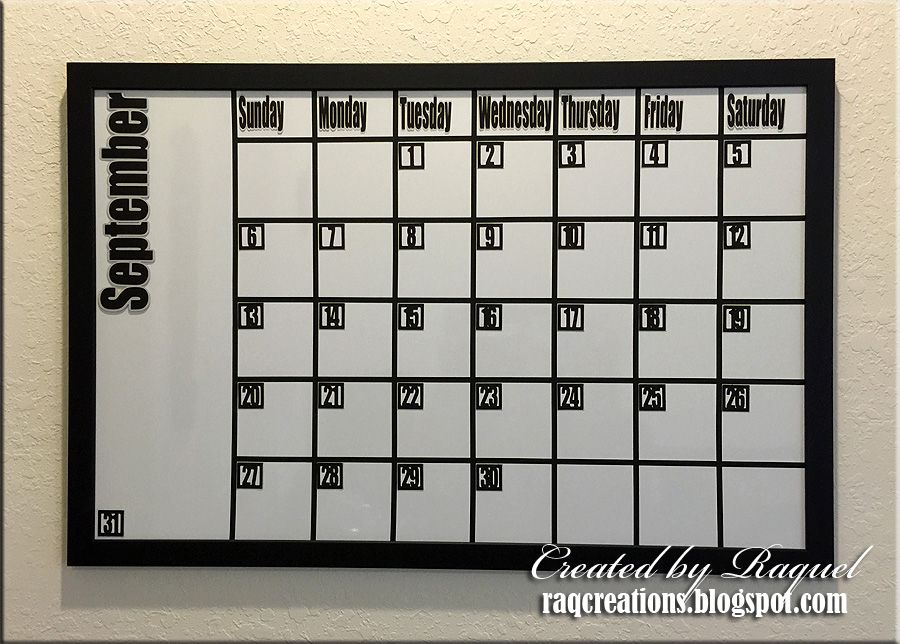
Above is a picture of September so you can see how clean it looks without all the clutter.  Don't you just love the sleek black wooden frame?

I created all the months and days using SCAL and the font is called Impact.  Below you can see the rest of the months.  I adhered a few of those circle magnets on the back of each so they pop out a little when it's on the board.


The days of the month are from Cricut cartridge: Designer's Calendar and they are mounted on small square strips of printable magnetic sheets because I wanted to keep them as flat as possible


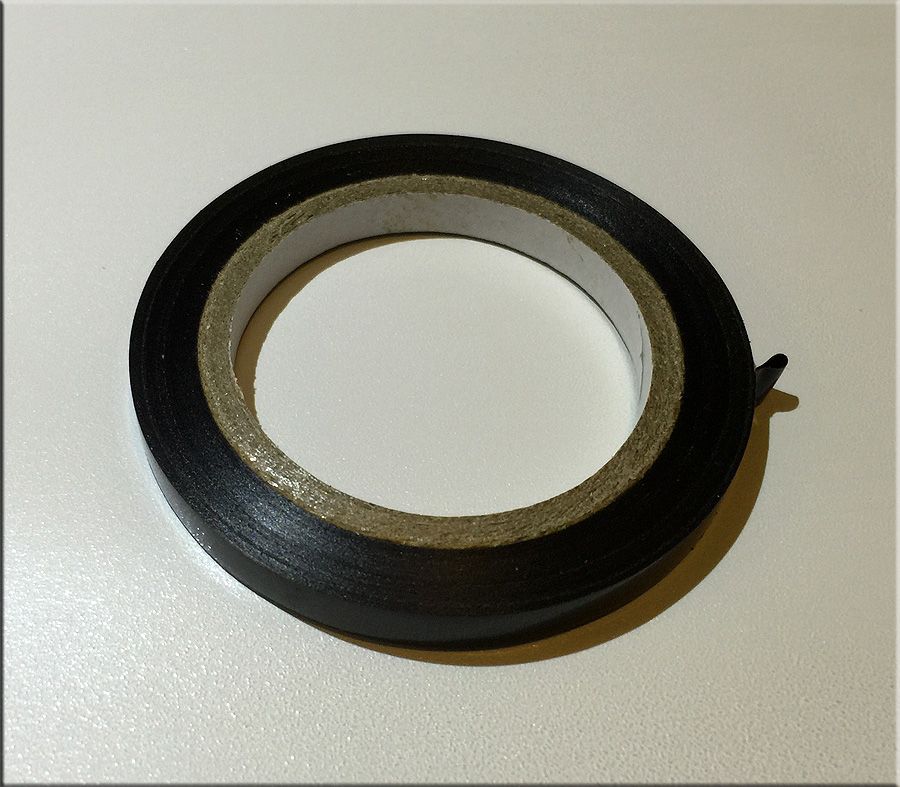
The squares were made from 1/4" Art Tape shown above.  This is not permanent so in the future, I can remove the tape easily and reuse the white board for something else


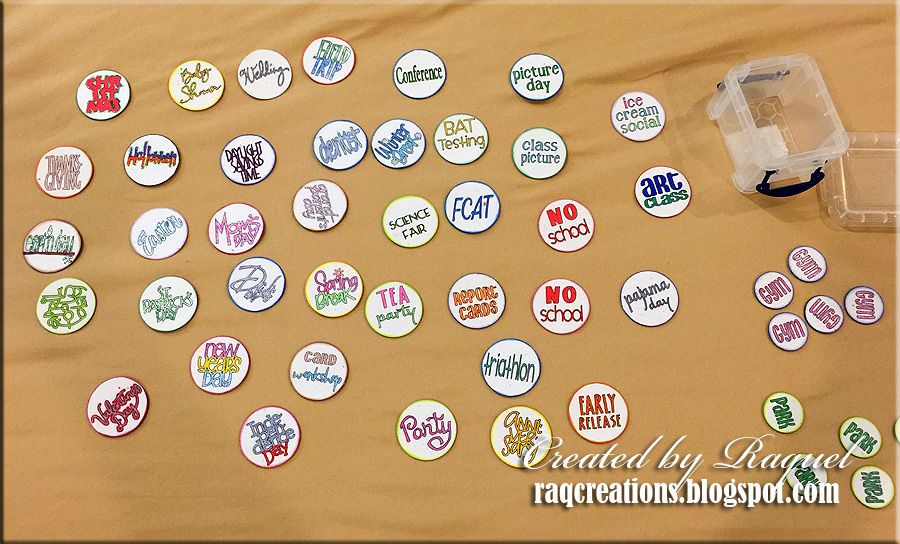
These were the original magnetic cutouts I made for the first calendar... I'm reusing them, of course!  I will eventually replace them since I don't like them anymore.  Oh and don't look at those little "gym" buttons since those aren't being used and neither are the "park" buttons... we're in the middle of Hurricane Season here so pretty much rains everyday

If you were patient enough to read my entire post of silliness... thank you!

Calendar size: 36" x 24"


Thanks for looking!

Now... it's your turn to create something spectacular and join us over at  My Sheri Crafts

My Sheri Crafts #162


August 2 - 8 is National Farmer's Market week.  So, Design Team Sister, Peachy, had asked us to create any project with a farm / country life inspiration.  Check out the newest theme over at My Sheri Crafts.


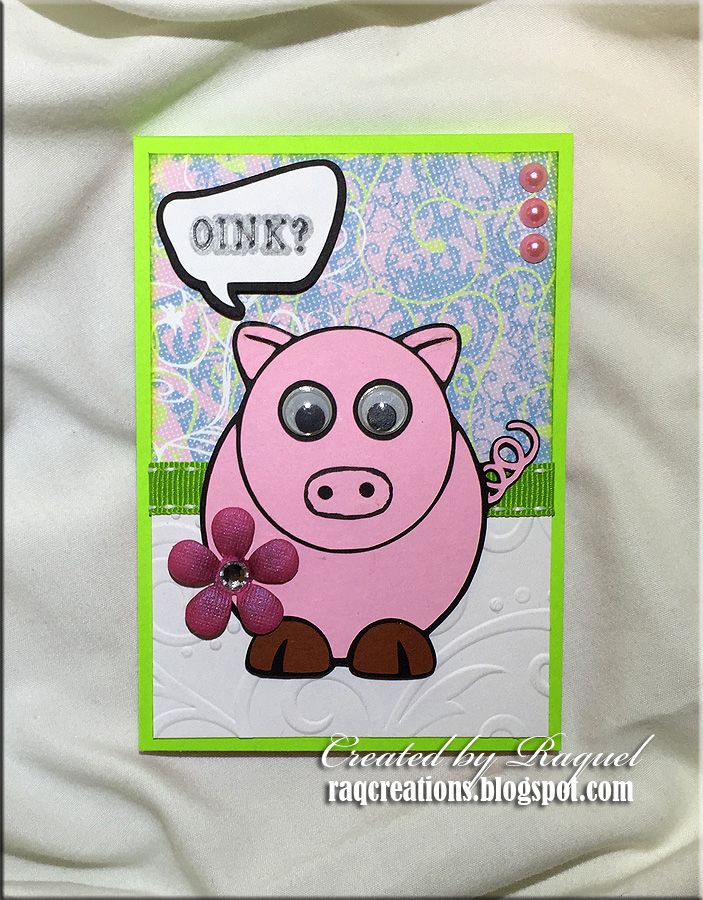
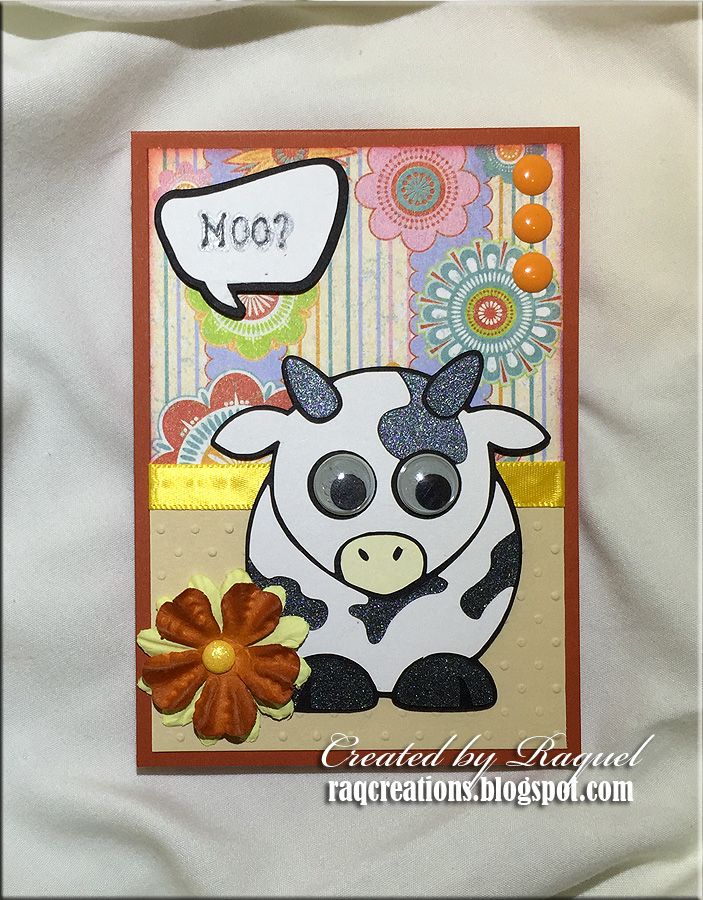
I decided to make note pad covers with my two favorite farm animals... a pig and a cow.  I had to create my own cuts using images I got from the internet.  The thought bubbles are from Cricut cartridge: Cricut Font and Basic Shapes and I used the Explore to write out the text then wrote over them with a fine point marker.  Each background papers are Basic Gray.  The embossing folder above is Darice and the embossing folder below is Cuttlebug.  The pink flower above is a Fiskar punch


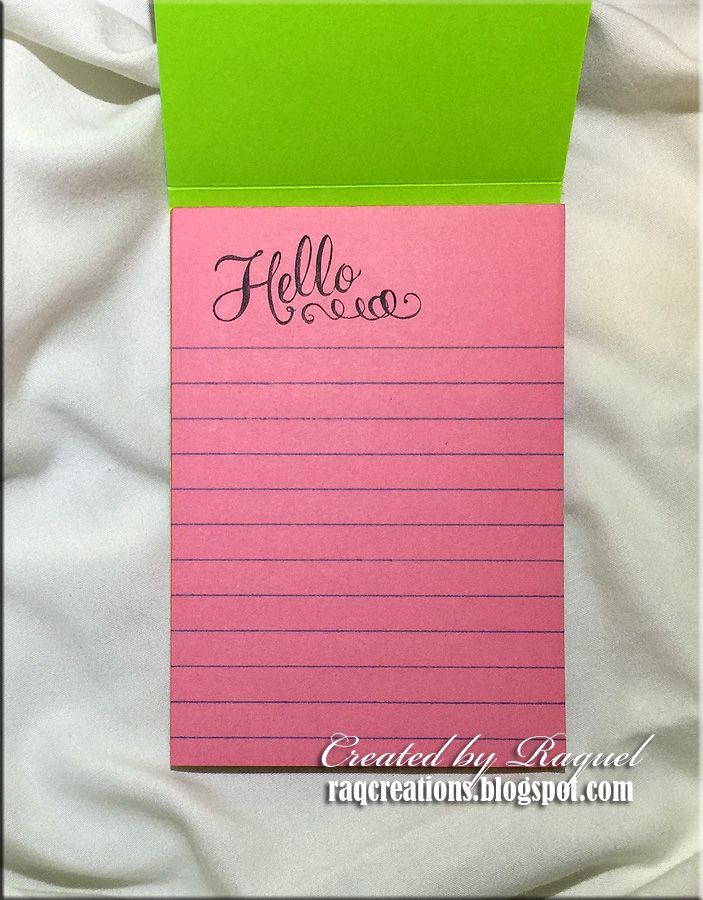
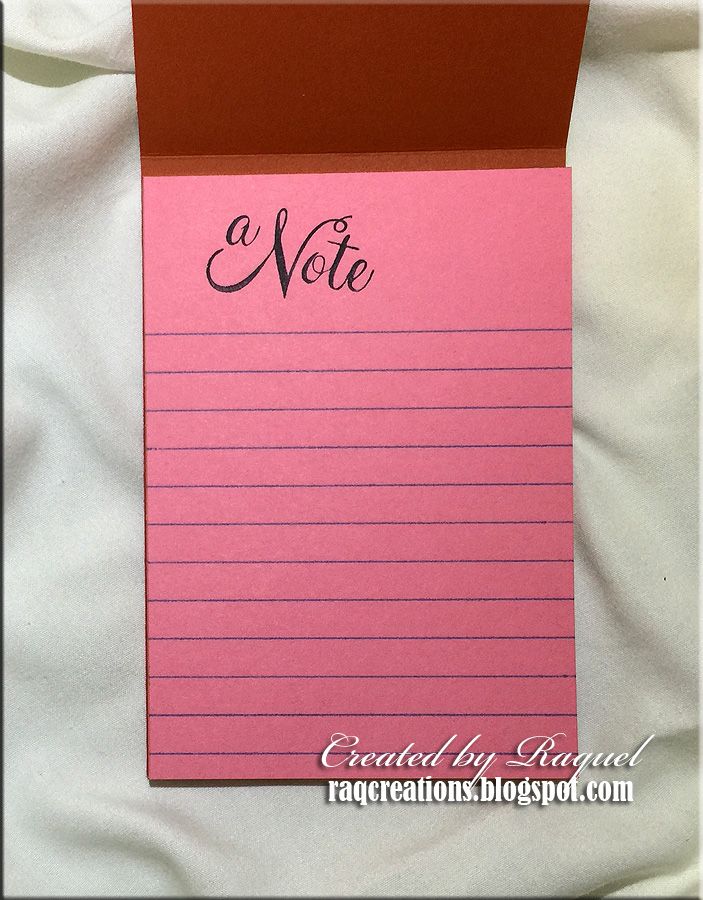
I decided to use a stamp on the very first page of the note pads inside.  I got each stamp for $1 at either Michael's or A.C. Moore... sorry, I don't remember


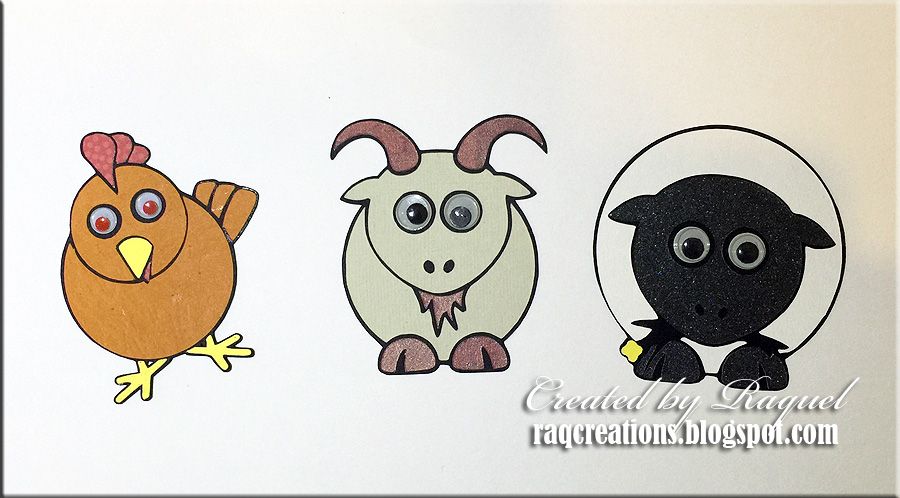
I made 3 other farm animals to make more note pads in the future.  Yeah, ok, you guessed it...  I ran out of note pads, but I decided that I'm not going to buy anything new and must use up what I already have first!


Note pad size: 3.5" x 5.0"

Thanks for looking!

Now... it's your turn to create something spectacular and join us over at  My Sheri Crafts

My Sheri Crafts #161


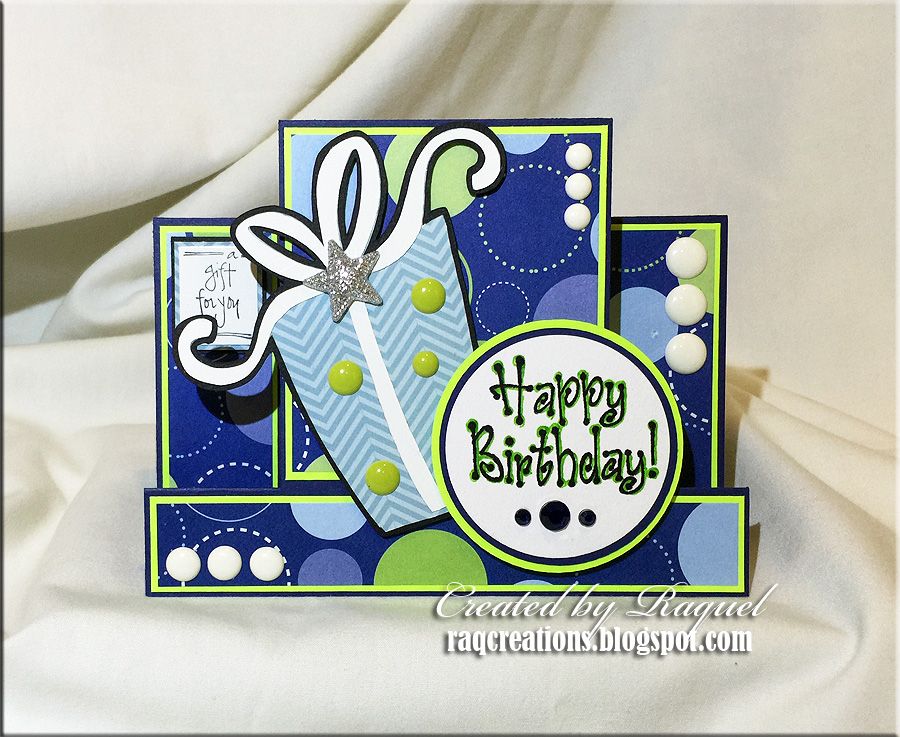
You can never have enough birthday cards and that's exactly what the newest theme is over at My Sheri Crafts. Design Team Sister, Sue, had asked us to create a birthday card specifically for someone under the age of 13.


It's been a long time since I made any special fold cards so I wanted to do exactly that.  I also wanted to use up my scraps!  The papers are from DCWV.  The gift die cut is from Cricut cartridge: Christmas Cheer. The "Happy Birthday" is a stamp from an all occasion set.  The small square that says "a gift for you" is a stamp I picked up at Michael's for $1. 


Card size: 5.5" x 4.25"  when flat


Thanks for looking!

Now... it's your turn to create something spectacular and join us over at  My Sheri Crafts

My Sheri Crafts #160


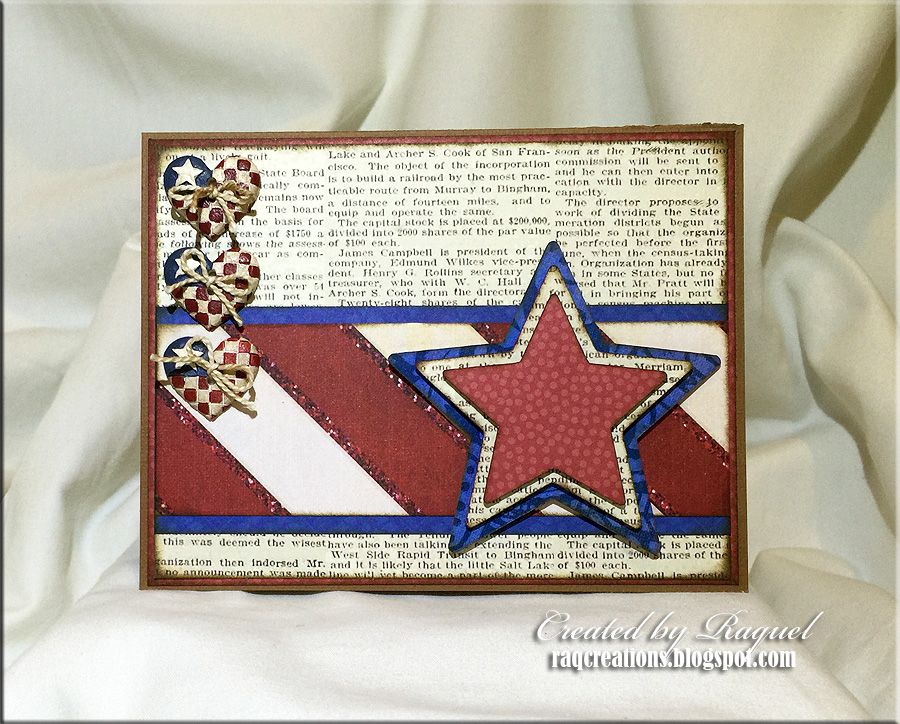
Fourth of July is next weekend so Design Team Sister, Glenda, had asked us to create any card or project that is patriotic .  Check out the newest challenge over at My Sheri Crafts


I wanted to make something a bit on the rustic side so this is what I came up with.  These are scrap pieces of papers from my daughter's Civic class project so I thought they were perfect to use since they're patriotic.  The three layers of stars are cuts from Cricut and I popped them up at each layer for some dimension.  All pieces were inked at the edges... I should have distress the printed paper, but oh well.  The flag heart buttons I've had for over two years and I finally got a chance to use them!  The colors were so bright on them so I also distressed them for a more rustic look.


Card size: 5.5" x 4.25"


Thanks for looking!

Now... it's your turn to create something spectacular and join us over at  My Sheri Crafts

My Sheri Crafts #159


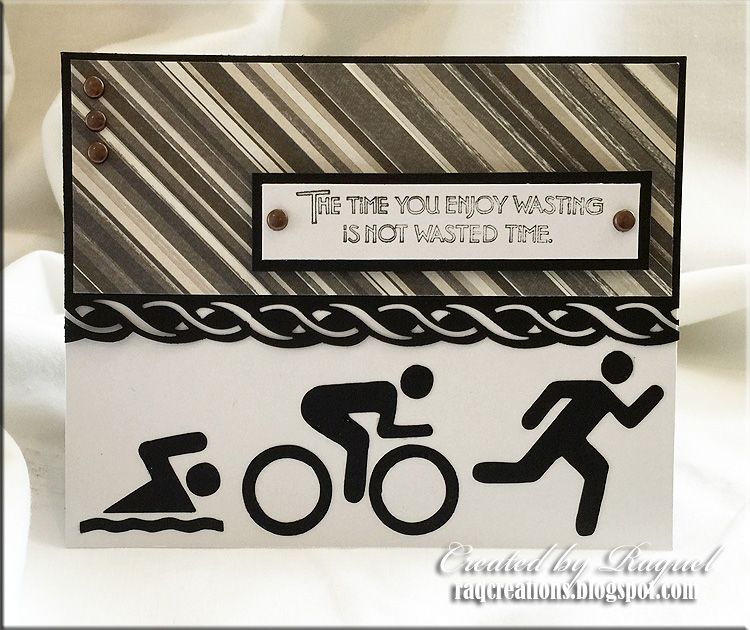
Father's Day is coming up soon so Design Team Sister, Sandy, had asked us to create something masculine.  Whether it's a card or a crafty project you'd like to make, come check out the newest challenge over at My Sheri Crafts


I don't usually make masculine cards... I have a lot more fun adding flowers to things.  However, it's a necessary thing we must do from time to time.  This one is for my hubby for Father's Day.  He does love his exercise!  The triathlon symbols were downloaded from the internet and I made them  into SVG files to cut with my Cricut.  The border punch is a Fiskar... reminds me of waves.  I fell in love with the  $1 stamp I got from Michael's Craft.  I figured it would be a perfect statement for this high impact exercise card... since I prefer the couch.

Card size: 5.5" x 4.25"


Thanks for looking!

Now... it's your turn to create something spectacular and join us over at  My Sheri Crafts

My Sheri Crafts #158


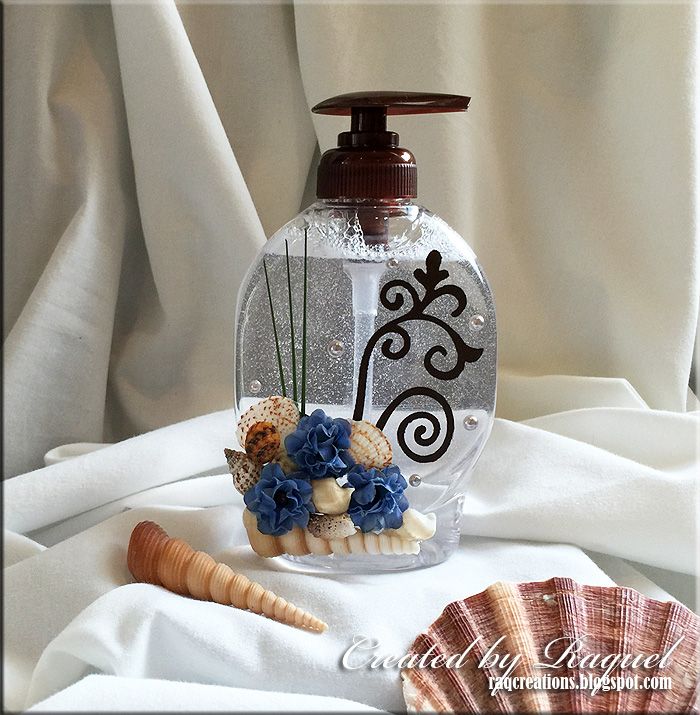
Summer is approaching fast and the heat is becoming unbearable... especially if you live in South Florida.  What better way to cool off but to go to the beach... or at least drench yourself with water.  Our very own Sheri had asked us to create any project that features the water.  So come check out the newest challenge over at My Sheri Crafts


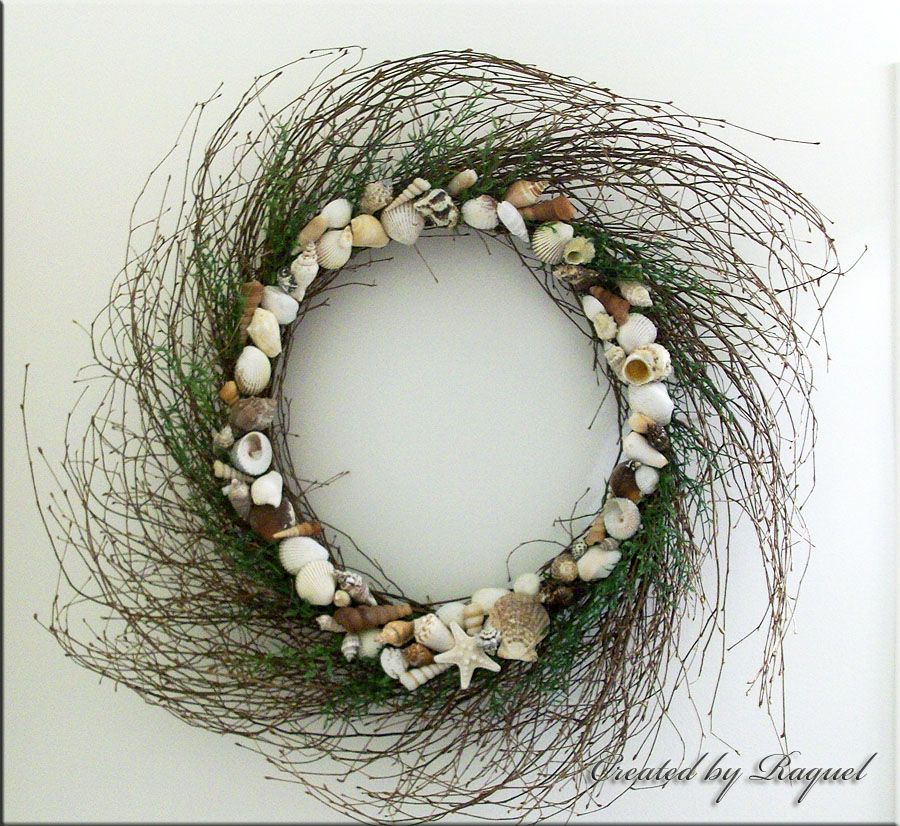
Instead of a card that features the beach, I decided to decorate a simple hand soap bottle.  I used Goo Begone to remove all the branding.  The flourish is from Sizzix and I used a dark brown vinyl because it's water proof.  I hot glued the shells and silk flowers to represent the beach theme.  This is the color theme of my powder room and this project is LONG overdue.


Some of you may remember, this project from My Sheri Crafts #115 "Let's Take a Trip" where I made a wreath.  This wreath is hanging in the same powder room and I just now made a matching accessory for it.  It's been lonely for a long time.  You can check out the details of the wreath here.


Thanks for looking!

Now... it's your turn to create something spectacular and join us over at  My Sheri Crafts

My Sheri Crafts #157


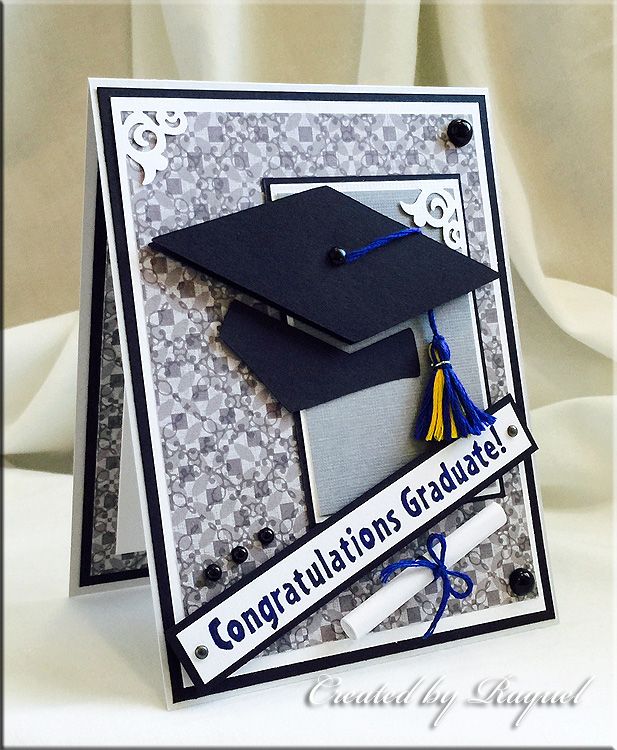
You got it!  Graduation Day is fast approaching with the end of the school year.  Design Team Sister, Glenda, asked us to create a graduation card or any project that is school related for the newest challenge over at My Sheri Crafts


Here is my take on this challenge.   The graduation cap is a cut I've had as an SVG file and I can't remember where it came from.  I popped up the top part of the cap for some dimension.  I made the tassel from DMC cross-stitching floss.  The colors are royal blue and yellow, the middle school colors where my daughter is currently attending... and leaving as she is in 8th grade. "Congratulations Graduate" is a stamp that came from a set of rubber occasion stamps.  The diploma is just 2" of rolled up printer paper and the ribbon is also a DMC floss.  The printed paper is from DCWV and I used a Fiskar photo corner punch to hold it in place.
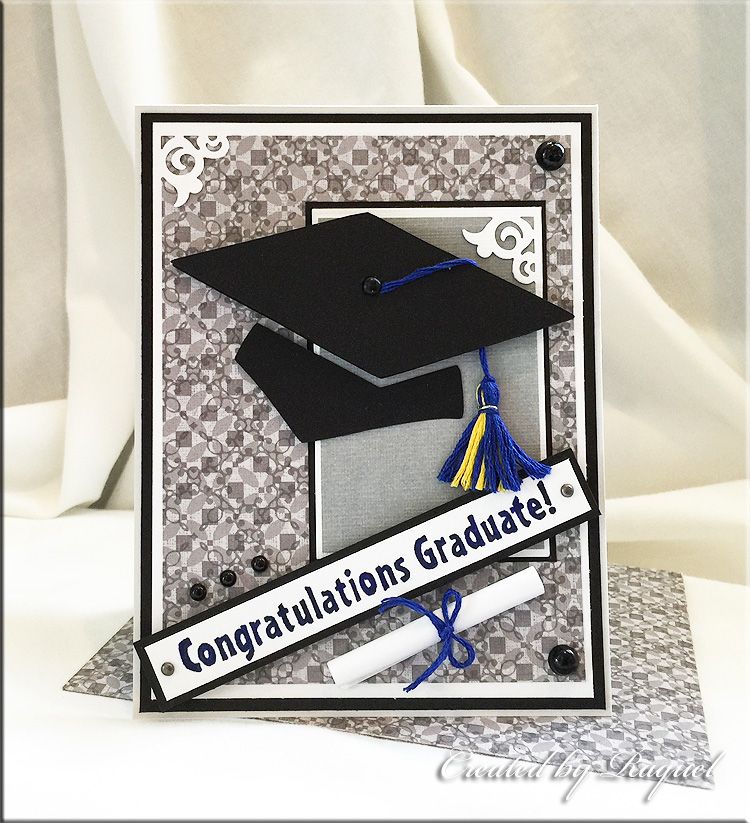

Here is a second picture with a matching envelope.  The color is a bit off on this one

*Card size 4.25" x 5.5"
*Envelope size  4.5" x 5.75"

Thanks for looking!

Now... it's your turn to create something spectacular and join us over at  My Sheri Crafts