My Sheri Crafts #164


Check out the newest theme over at My Sheri Crafts. It's all about reaching out to those you haven't seen in ages.  We've all made these types of cards... thinking of you... miss you... hello...
Well it's time to showcase those cards or project!
 

I have been hoarding a lot of papers and I decided to use up some from Close to My Heart.  This is from the Wings collection.  The stamp is from Michael's Crafts.  Flourish are Spellbinders.  The rolled up flowers are Sizzix.  I think I used up too much inking... the flowers look black!  LoL!  They are actually very dark burgundy


Card size: 4.25" x 5.5"


Thanks for looking!

Now... it's your turn to create something spectacular and join us over at  My Sheri Crafts

Altered Cans

Pencil Holder

I'm pretty sure that you have looked at an ordinary item and thought to yourself, "I can do something with this."  Well, that's exactly what I do with Planter Peanuts cans (after I eat them).  I make children's coin banks or pencil holders with them


Since school is starting soon, the kids had asked me to make them pencil holders.  They chose the papers from my stash (all from DCWV).  They wouldn't allow me to embellish them though.  I wanted to put their names on them or at least something but they said NO... denied!  The one above is for my eldest daughter and the one below is for my second daughter


For my youngest... my little boy... I was able to at least add the image of Minions which he absolutely go crazy for


Since I was already in the "altering cans" mood, I decided to make some for myself.  I needed them anyway. 


These are covered with papers from Close to My Heart.  The flourish and frames are Spellbinders and the rolled up flowers are Sizzix.  I found the quotes online


Thank you for looking!

Soap Dispenser

Decorated Soap Dispenser

I decided to decorate another soap dispenser since the first one I made is holding up so well and that one gets abused on a daily basis.  This one is going to make it's home in my Guest / Craft Bathroom since the theme is red and a soft yellow... or at least those are the colors of the towels in there.  I used Goo Begone to remove the labels.  The Flourish is a Spellbinder and I just glued the silk leaves and flowers.  The gems are glued with glue dots... they seem to survive getting water on them.
Below is the first soap dispenser I decorated for My Sheri Crafts #158


Thanks for looking!

My Sheri Crafts #163

It's time to take a break from card-making and on to other crafts.  The newest theme over at My Sheri Crafts is to create any decor project.  Design Team Sister, Sarah, wants to see your decor... so let's show them to her!


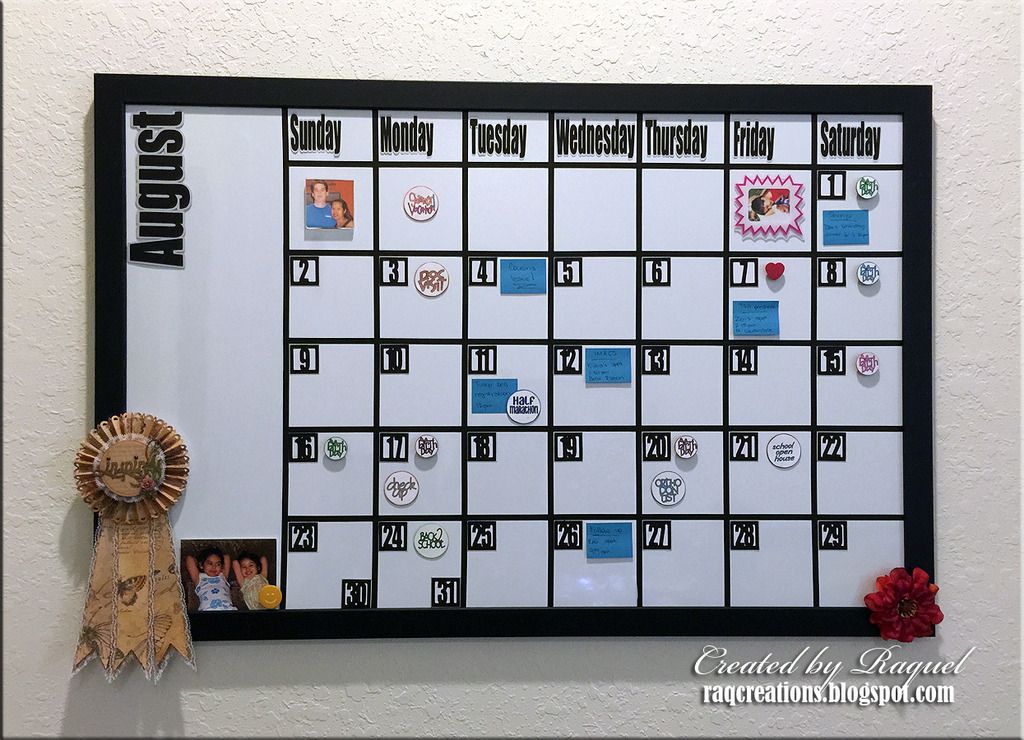
A couple of years ago, I made a calendar for My Sheri Crafts #92 for a school themed project.  Since I only used that calendar specifically for school events (and it no longer exists), I decided to make a new one.  This one is a bit more modern to match my craft room... that's where it lives.  It is a magnetic dry erase white board.  I use it for all my monthly events.


Some of you may recognize the ribbon... yes, it's from My Sheri Crafts #91... Yeah ok... so I make a lot of crafts and I don't always use them all or give them away.  They end up somewhere hung up or displayed in my house.  Also, the picture of the girls next to it... yeah, that's like 9 years old but my teenagers don't want any pictures of their current selves displayed anywhere


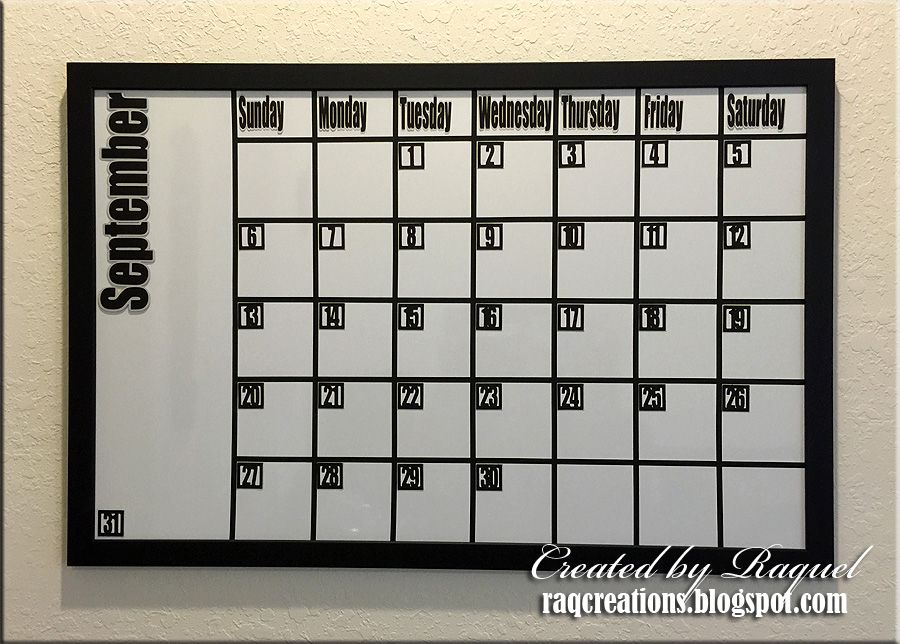
Above is a picture of September so you can see how clean it looks without all the clutter.  Don't you just love the sleek black wooden frame?

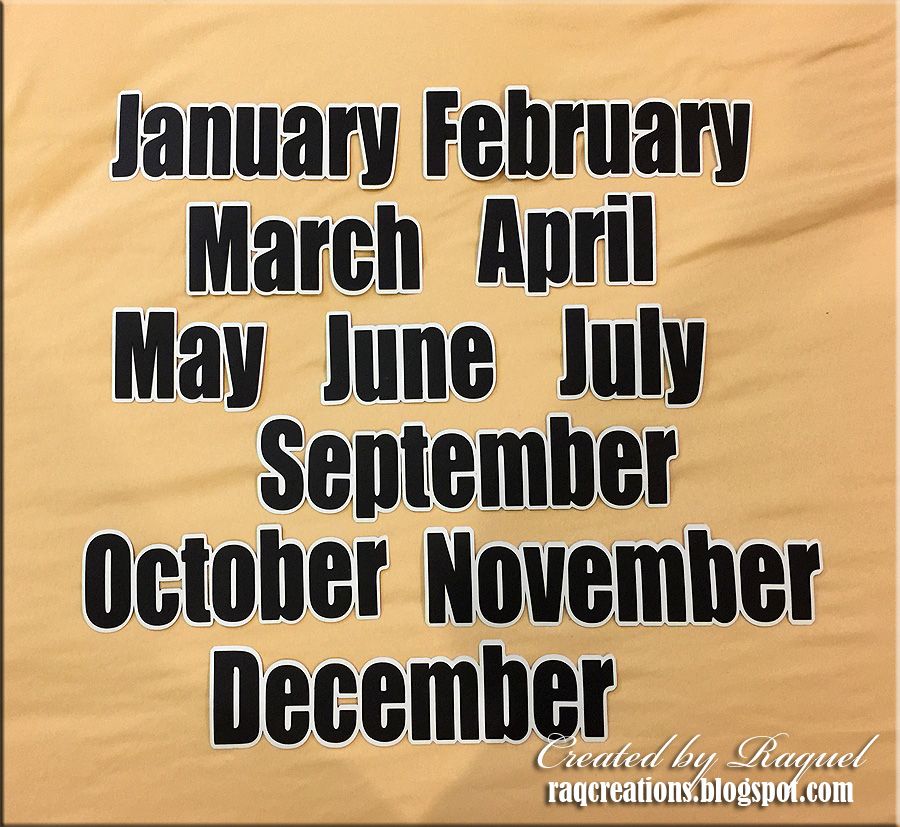
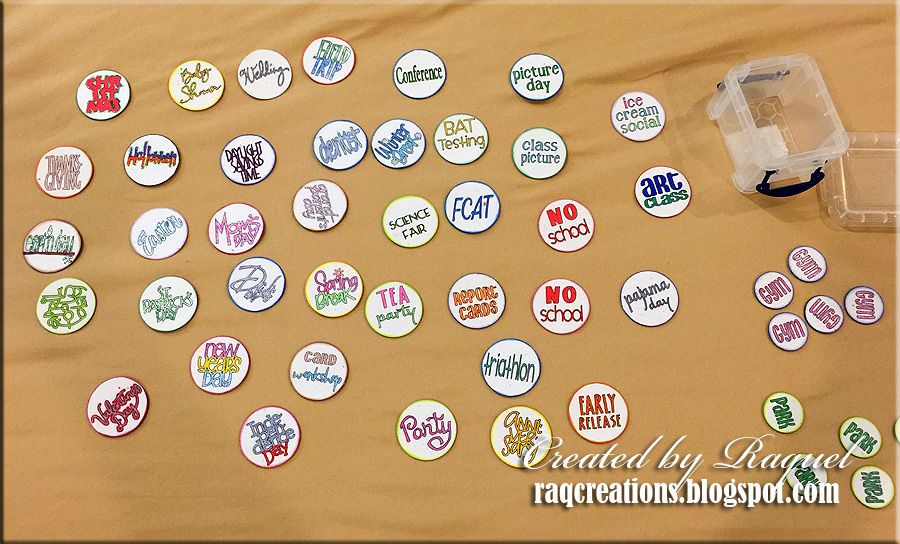
I created all the months and days using SCAL and the font is called Impact.  Below you can see the rest of the months.  I adhered a few of those circle magnets on the back of each so they pop out a little when it's on the board.


The days of the month are from Cricut cartridge: Designer's Calendar and they are mounted on small square strips of printable magnetic sheets because I wanted to keep them as flat as possible


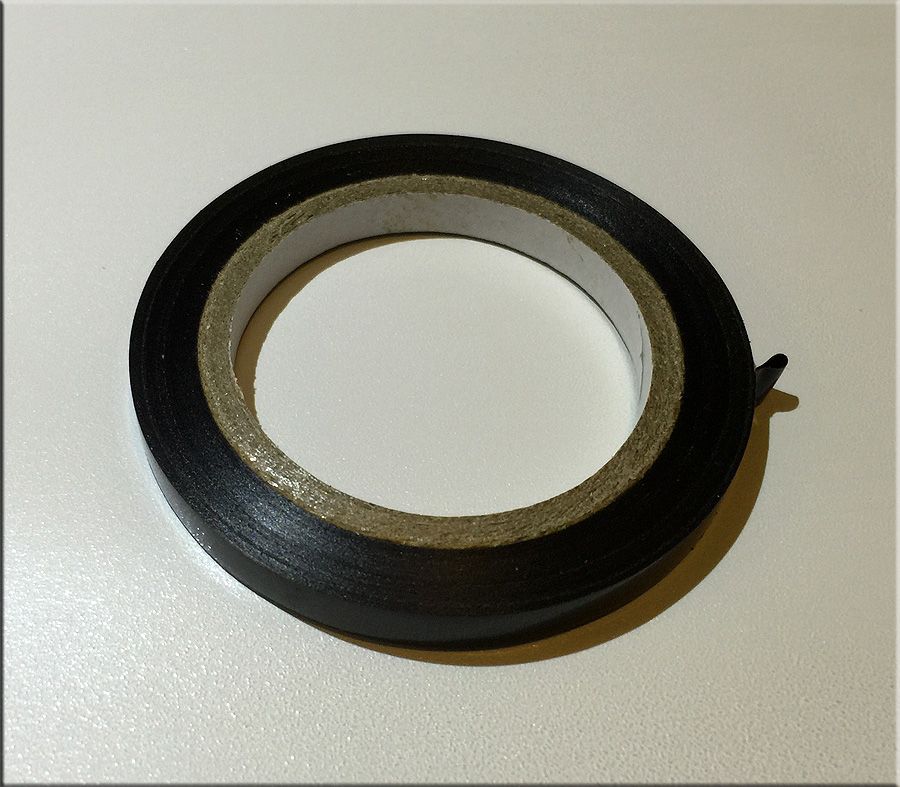
The squares were made from 1/4" Art Tape shown above.  This is not permanent so in the future, I can remove the tape easily and reuse the white board for something else


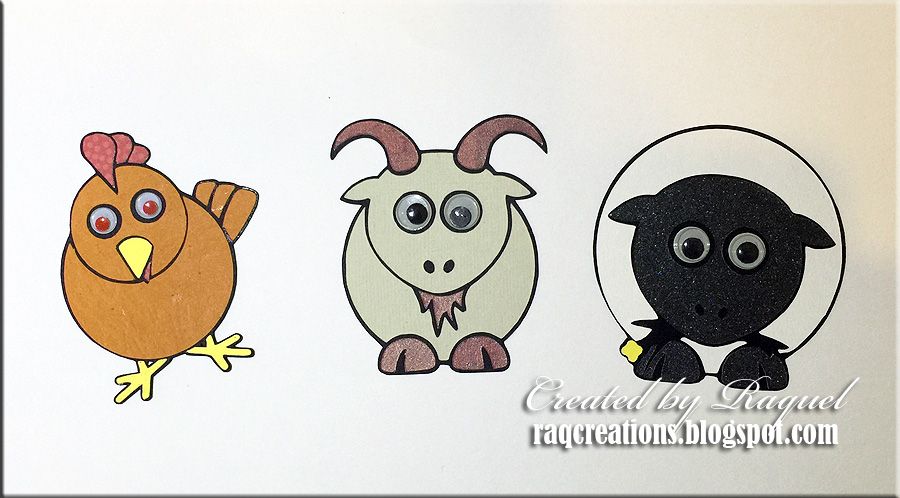
These were the original magnetic cutouts I made for the first calendar... I'm reusing them, of course!  I will eventually replace them since I don't like them anymore.  Oh and don't look at those little "gym" buttons since those aren't being used and neither are the "park" buttons... we're in the middle of Hurricane Season here so pretty much rains everyday

If you were patient enough to read my entire post of silliness... thank you!

Calendar size: 36" x 24"


Thanks for looking!

Now... it's your turn to create something spectacular and join us over at  My Sheri Crafts

My Sheri Crafts #162


August 2 - 8 is National Farmer's Market week.  So, Design Team Sister, Peachy, had asked us to create any project with a farm / country life inspiration.  Check out the newest theme over at My Sheri Crafts.


I decided to make note pad covers with my two favorite farm animals... a pig and a cow.  I had to create my own cuts using images I got from the internet.  The thought bubbles are from Cricut cartridge: Cricut Font and Basic Shapes and I used the Explore to write out the text then wrote over them with a fine point marker.  Each background papers are Basic Gray.  The embossing folder above is Darice and the embossing folder below is Cuttlebug.  The pink flower above is a Fiskar punch


I decided to use a stamp on the very first page of the note pads inside.  I got each stamp for $1 at either Michael's or A.C. Moore... sorry, I don't remember


I made 3 other farm animals to make more note pads in the future.  Yeah, ok, you guessed it...  I ran out of note pads, but I decided that I'm not going to buy anything new and must use up what I already have first!


Note pad size: 3.5" x 5.0"

Thanks for looking!

Now... it's your turn to create something spectacular and join us over at  My Sheri Crafts

My Sheri Crafts #161


You can never have enough birthday cards and that's exactly what the newest theme is over at My Sheri Crafts. Design Team Sister, Sue, had asked us to create a birthday card specifically for someone under the age of 13.


It's been a long time since I made any special fold cards so I wanted to do exactly that.  I also wanted to use up my scraps!  The papers are from DCWV.  The gift die cut is from Cricut cartridge: Christmas Cheer. The "Happy Birthday" is a stamp from an all occasion set.  The small square that says "a gift for you" is a stamp I picked up at Michael's for $1. 


Card size: 5.5" x 4.25"  when flat


Thanks for looking!

Now... it's your turn to create something spectacular and join us over at  My Sheri Crafts

My Sheri Crafts #160


Fourth of July is next weekend so Design Team Sister, Glenda, had asked us to create any card or project that is patriotic .  Check out the newest challenge over at My Sheri Crafts


I wanted to make something a bit on the rustic side so this is what I came up with.  These are scrap pieces of papers from my daughter's Civic class project so I thought they were perfect to use since they're patriotic.  The three layers of stars are cuts from Cricut and I popped them up at each layer for some dimension.  All pieces were inked at the edges... I should have distress the printed paper, but oh well.  The flag heart buttons I've had for over two years and I finally got a chance to use them!  The colors were so bright on them so I also distressed them for a more rustic look.


Card size: 5.5" x 4.25"


Thanks for looking!

Now... it's your turn to create something spectacular and join us over at  My Sheri Crafts

My Sheri Crafts #159


Father's Day is coming up soon so Design Team Sister, Sandy, had asked us to create something masculine.  Whether it's a card or a crafty project you'd like to make, come check out the newest challenge over at My Sheri Crafts


I don't usually make masculine cards... I have a lot more fun adding flowers to things.  However, it's a necessary thing we must do from time to time.  This one is for my hubby for Father's Day.  He does love his exercise!  The triathlon symbols were downloaded from the internet and I made them  into SVG files to cut with my Cricut.  The border punch is a Fiskar... reminds me of waves.  I fell in love with the  $1 stamp I got from Michael's Craft.  I figured it would be a perfect statement for this high impact exercise card... since I prefer the couch.

Card size: 5.5" x 4.25"


Thanks for looking!

Now... it's your turn to create something spectacular and join us over at  My Sheri Crafts

My Sheri Crafts #158


Summer is approaching fast and the heat is becoming unbearable... especially if you live in South Florida.  What better way to cool off but to go to the beach... or at least drench yourself with water.  Our very own Sheri had asked us to create any project that features the water.  So come check out the newest challenge over at My Sheri Crafts


Instead of a card that features the beach, I decided to decorate a simple hand soap bottle.  I used Goo Begone to remove all the branding.  The flourish is from Sizzix and I used a dark brown vinyl because it's water proof.  I hot glued the shells and silk flowers to represent the beach theme.  This is the color theme of my powder room and this project is LONG overdue.


Some of you may remember, this project from My Sheri Crafts #115 "Let's Take a Trip" where I made a wreath.  This wreath is hanging in the same powder room and I just now made a matching accessory for it.  It's been lonely for a long time.  You can check out the details of the wreath here.


Thanks for looking!

Now... it's your turn to create something spectacular and join us over at  My Sheri Crafts

My Sheri Crafts #157


You got it!  Graduation Day is fast approaching with the end of the school year.  Design Team Sister, Glenda, asked us to create a graduation card or any project that is school related for the newest challenge over at My Sheri Crafts


Here is my take on this challenge.   The graduation cap is a cut I've had as an SVG file and I can't remember where it came from.  I popped up the top part of the cap for some dimension.  I made the tassel from DMC cross-stitching floss.  The colors are royal blue and yellow, the middle school colors where my daughter is currently attending... and leaving as she is in 8th grade. "Congratulations Graduate" is a stamp that came from a set of rubber occasion stamps.  The diploma is just 2" of rolled up printer paper and the ribbon is also a DMC floss.  The printed paper is from DCWV and I used a Fiskar photo corner punch to hold it in place.


Here is a second picture with a matching envelope.  The color is a bit off on this one

*Card size 4.25" x 5.5"
*Envelope size  4.5" x 5.75"

Thanks for looking!

Now... it's your turn to create something spectacular and join us over at  My Sheri Crafts

My Sheri Crafts #156


My right arm is still in a cast but that's still not going to stop me from crafting!  Design Team Sister, Marge, asked us to create a birthday card with a matching envelope for the newest challenge over at My Sheri Crafts


Since I still have very limited use of my right arm (my writing hand at that)... I have to keep with simple projects.  I don't think you can get simpler than this card.  The paper is from DCWV, flowers from Michael's, trimming from Charlotte (previous Design Team Sister), and the "Happy Birthday" is a $1 stamp from Michael's.


*Card size 5.5" x 4.25"
*Envelope size 5.75" x 4.5"

Thanks for looking!

Now... it's your turn to create something spectacular and join us over at  My Sheri Crafts

My Sheri Crafts #155


I broke my arm!  That's right, but that's not going to stop me from participating in the newest theme challenge over at My Sheri CraftsSince Mother's Day is nearby, Design Team Sister, Sandy, asked us to make "something girly." I have limited use of my right arm right now so I had to make something simple. 


These are gift card covers with a matching purse to hide them in instead of an envelope.  Really, I just wanted to use up scrap papers which I now have a drawer full.  The bag cut is from Cricut cartridge: Bags, Tags, Boxes & More.  The trimmings for the first 3 purses were given to me by former Design Team Sister, Charlotte.  The last one is from Michael's Crafts.  The rest of the embellishments are from my stash and yes... I have to use those up too!


*The cards are 3.5" x 2"
*The purse are 4" x 4.5" x 1.75"

Thanks for looking!

Now... it's your turn to create something spectacular and join us over at  My Sheri Crafts

My Sheri Crafts #154


According to Design Team Sister, Sarah... April is National Humor Month.  Well why not?  April does have April's Fool Day and Tax Day... hee hee!  She had asked us to create a humorous card for the latest My Sheri Crafts challenge


My friend is turning 40 this month so why not make an "over the hill" card?  Well not quite.  I did use the traditional colors from the "over the hill" theme of black, silver (or gray), and white.  I made the card shaped into a "40" and made a cut of the word "forty" ... as if it wasn't obvious enough.  Both cuts were created with *SCAL


So here you have the twist... I printed the label "Happy 29th Birthday!!! (again)" on my computer and used a Spellbinder die cut to frame it.  The green flourish is a Cheery Lynn die cut and the roses are Quilted Creations die cuts


I decided to make another card... a simple one.  I found the image of metallic colorful shot glasses from the internet and printed it.  The words were printed from the computer and then I slapped them all together in different layers

*Both cards fit an A2 envelope
*SCAL: Sure Cuts A Lot

Thanks for looking!

Now... it's your turn to create something spectacular and join us over at  My Sheri Crafts

My Sheri Crafts #153


Easter is just right around the corner and THAT is exactly what this next challenge at My Sheri Crafts is all about!  Design Team Sister, Sue, asked us to make a card to celebrate Easter that would feature a cross, bunnies, or eggs


I found this adorable bunny cut in Cricut Design Space and knew I just had to use that to make a shaped card.  The eggs are also from Cricut Design Space and I used Stickles to decorate them.  The leaves are from a Sizzix die cut.  The various flowers are from different Fiskars punch except for the large lilac and large pink colored ones. 

 
Here you see how it opens up.  I welded two of the bunny's base cuts right at the ears and used the second base layer to line the inside.  Another different flower... can never have enough of those and I definitely didn't want to use any flowers of the same kind.  "Happy Easter" is a stamp and I colored over the black ink with a pink glitter pen... made it look a bit sloppy though.  Oh well! 
 
Thanks for looking!

Now... it's your turn to create something spectacular and join us over at  My Sheri Crafts

My Sheri Crafts #152


I'm back!  It's been 10 long challenges ago since I've updated my blog and I needed a moment to remember how to blog... hee hee.  Ok, all kidding aside, it's great to be back to the Design Team from my long break.  

This week's theme over at  My Sheri Crafts is all about St. Patrick's Day.  Design Team Sister, Glenda, has asked us to create a project that would include a pot of gold, a four leaf clover, or a leprechaun.   Since I haven't really crafted in a long time, I went with a simple project.


Since I don't celebrate St. Patrick's Day, I don't have any decor at home for this holiday.  I bought a black ceramic pot at the dollar store that reminded me of a pot of gold.  I decorated it with a strip of St. Patrick's Day themed papers from Recollections and layered it with kelly green gro-grain ribbon.  Then with my new Cricut Explore (yes, I finally got one), I cut the St. Patrick's Day label and the four leaf clovers.  I used emerald glitter to cover the cuts.  The fanned flower was created using a Fiskar border punch.  I also embellished with some three leaf clover buttons I got from Michael's. 


I stuck these cuts to an existing pot of plant I had in the living room and used the gold coins I got from the dollar store.  The planter is currently displayed now in my living room so guests can see it as they come in the house.  I actually like the idea of decorating a planter for every holiday to display in my living room


Thanks for looking!

Now... it's your turn to create something spectacular and join us over at  My Sheri Crafts