It's that time of the year again! Back to School! So, what better way to celebrate this awesome event? Make a project that features anything that has anything to do with school. So come join us over at My Sheri Crafts and share your school creations!

For my project, I decided to alter a large magnetic white board calendar to keep track of all my kid's school events plus any other activities and special events for each month
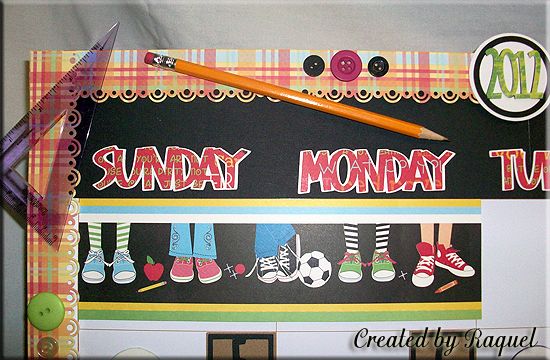
Most of the papers came from DCWV: School Stack and this particular large piece with the shoes came in handy to cover up a large block of unused calendar space
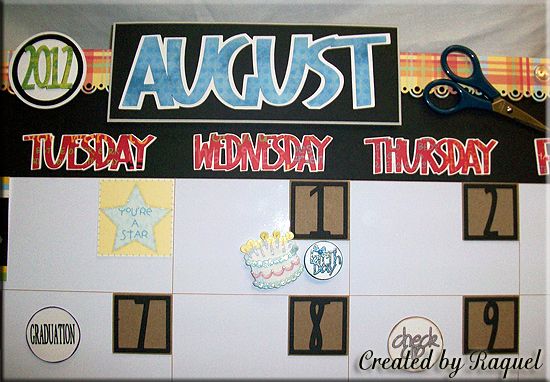
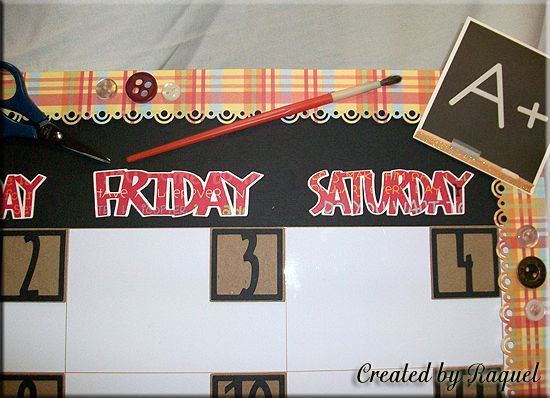
I used Designer's Calendar cartridge for the months and all the dates and a lot of the event buttons
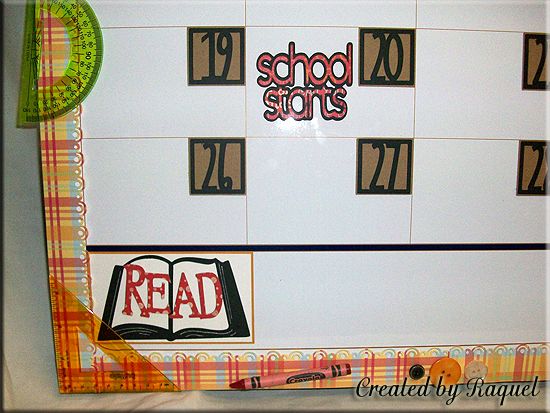
A Child's Year cartridge came in handy for the book with "READ" already welded into it. This particular cut is covering the word "NOTES" that was pre-printed with the white board
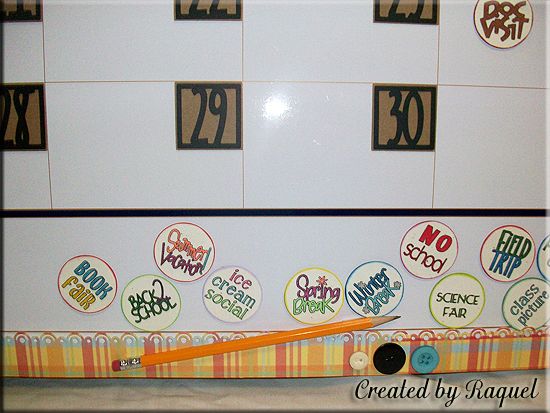
I used a variety of cartridges to make all the event buttons. All the different buttons were made using a 1.5" punch after I printed out the different events using the Cricut and a Quickutz Pen

The bus cut from Stretch Your Imagination cartridge covers up an unused calendar block... I didn't want to leave any spaces open
Supplies used:
- Office Max 35.5" x 23.5" magnetic white board calendar
- Papers - DCWV
- Various school supplies I had laying around
- Various ink pads
- Single buttons from my stash
- Magnets
- Cricut Design Studio - to create the event buttons
- Fiskar border punch
- Fiskar 1.5" circle punch for all the buttons
- Glitter Gel Pens
- Quickutz Pen - used to draw the events with the Cricut
- Cricut cartridges:
- A Child's Year
- Designer's Calendar
- Don Juan
- George and Basic Shapes
- Plantin Schoolbook
- Printing 101
- Stamping
- Stone Script
- Stretch Your Imagination
- Wild Card