Showing posts with label Crafts - Miscellaneous. Show all posts

My Sheri Crafts #163

It's time to take a break from card-making and on to other crafts.  The newest theme over at My Sheri Crafts is to create any decor project.  Design Team Sister, Sarah, wants to see your decor... so let's show them to her!
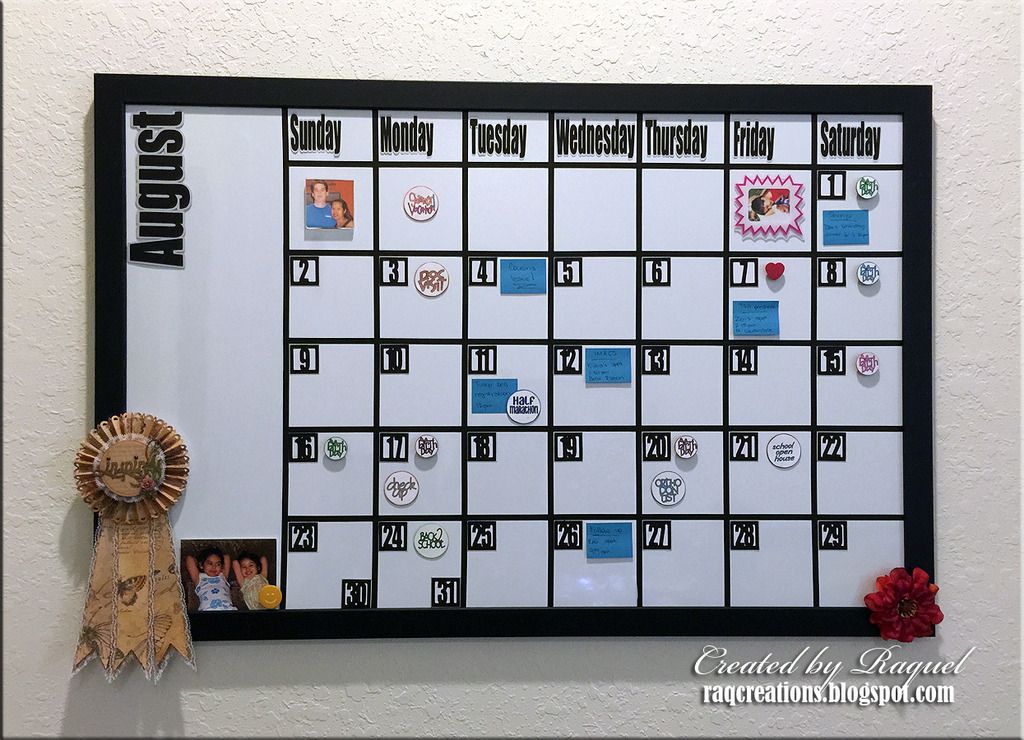

A couple of years ago, I made a calendar for My Sheri Crafts #92 for a school themed project.  Since I only used that calendar specifically for school events (and it no longer exists), I decided to make a new one.  This one is a bit more modern to match my craft room... that's where it lives.  It is a magnetic dry erase white board.  I use it for all my monthly events.


Some of you may recognize the ribbon... yes, it's from My Sheri Crafts #91... Yeah ok... so I make a lot of crafts and I don't always use them all or give them away.  They end up somewhere hung up or displayed in my house.  Also, the picture of the girls next to it... yeah, that's like 9 years old but my teenagers don't want any pictures of their current selves displayed anywhere
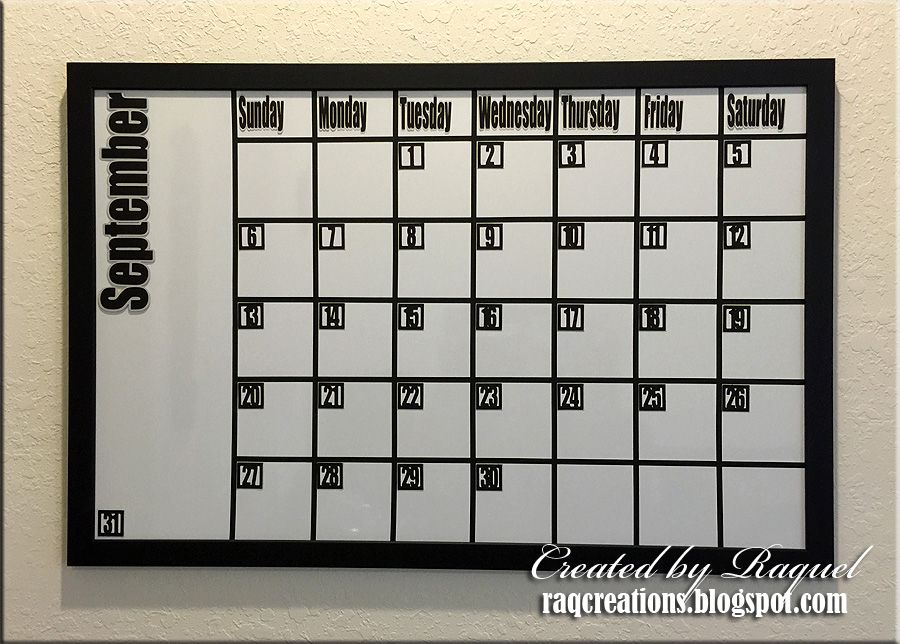

Above is a picture of September so you can see how clean it looks without all the clutter.  Don't you just love the sleek black wooden frame?

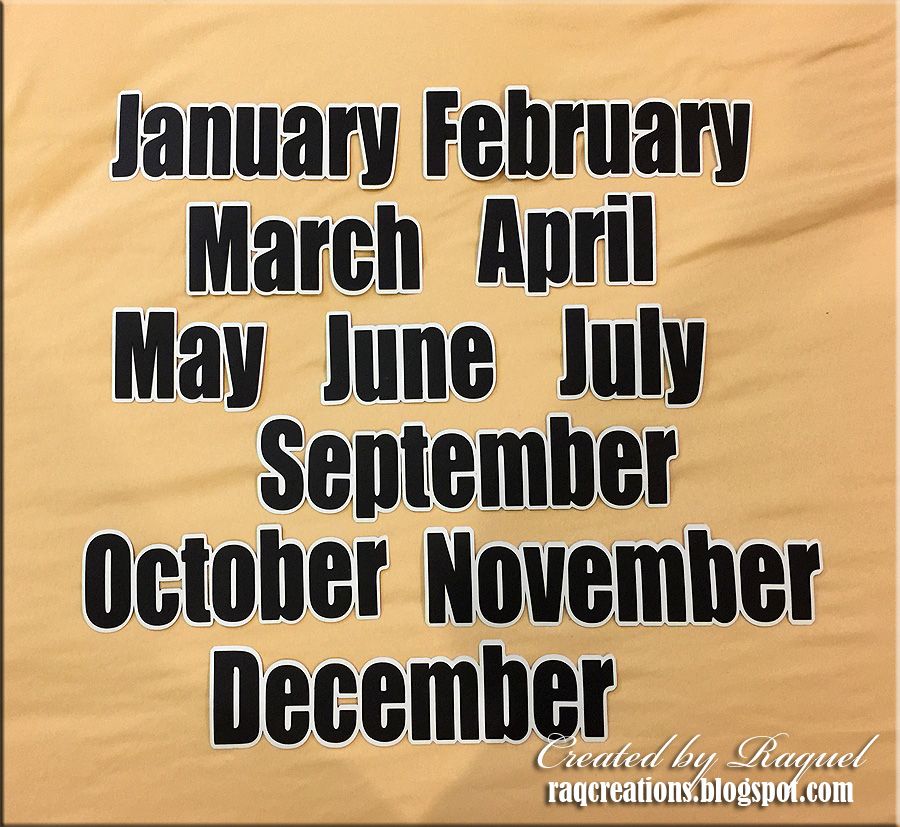
I created all the months and days using SCAL and the font is called Impact.  Below you can see the rest of the months.  I adhered a few of those circle magnets on the back of each so they pop out a little when it's on the board.


The days of the month are from Cricut cartridge: Designer's Calendar and they are mounted on small square strips of printable magnetic sheets because I wanted to keep them as flat as possible
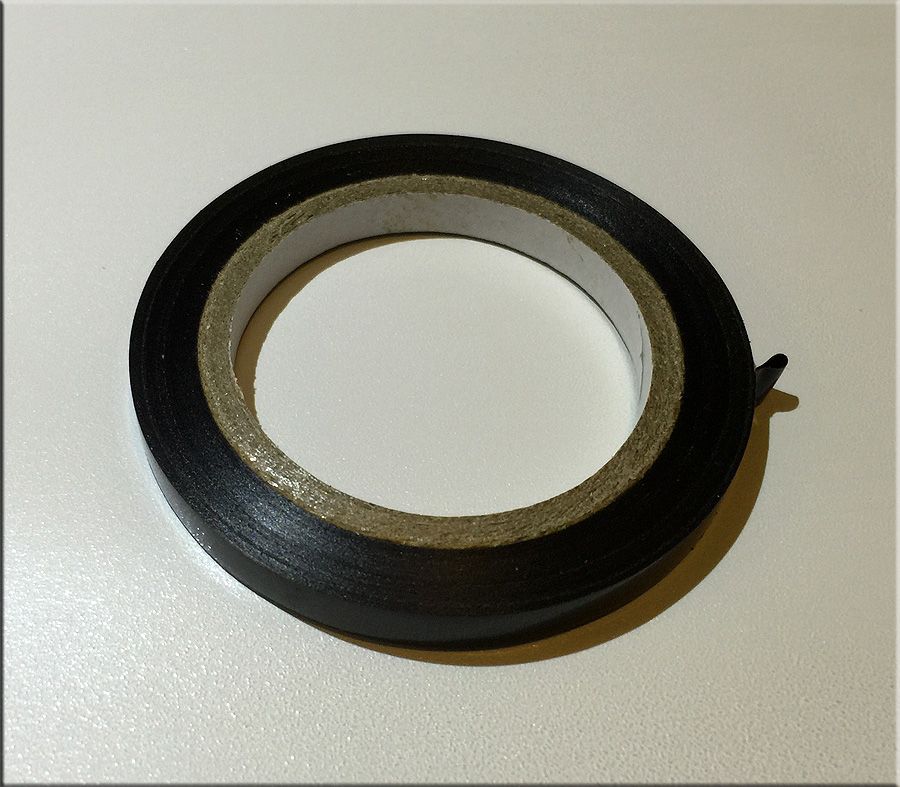


The squares were made from 1/4" Art Tape shown above.  This is not permanent so in the future, I can remove the tape easily and reuse the white board for something else
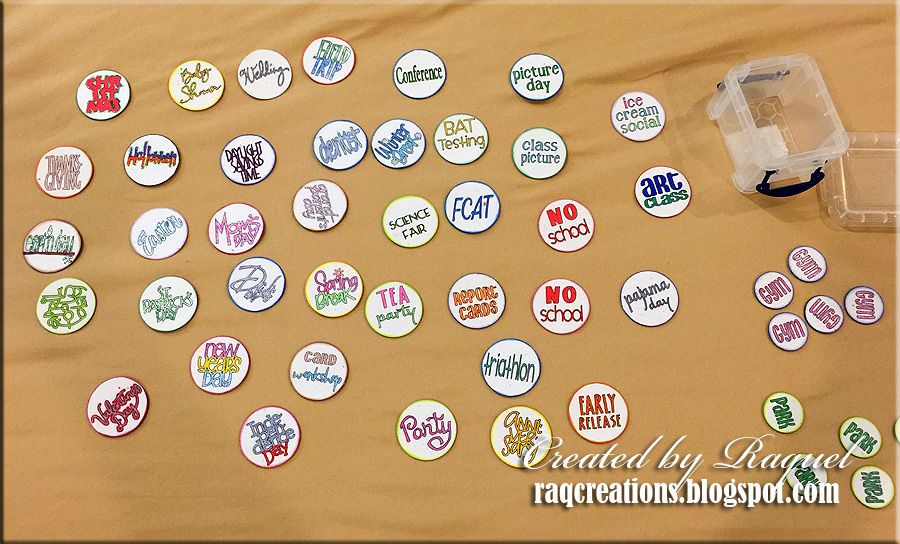


These were the original magnetic cutouts I made for the first calendar... I'm reusing them, of course!  I will eventually replace them since I don't like them anymore.  Oh and don't look at those little "gym" buttons since those aren't being used and neither are the "park" buttons... we're in the middle of Hurricane Season here so pretty much rains everyday

If you were patient enough to read my entire post of silliness... thank you!

Calendar size: 36" x 24"


Thanks for looking!

Now... it's your turn to create something spectacular and join us over at  My Sheri Crafts

My Sheri Crafts #152


I'm back!  It's been 10 long challenges ago since I've updated my blog and I needed a moment to remember how to blog... hee hee.  Ok, all kidding aside, it's great to be back to the Design Team from my long break.  

This week's theme over at  My Sheri Crafts is all about St. Patrick's Day.  Design Team Sister, Glenda, has asked us to create a project that would include a pot of gold, a four leaf clover, or a leprechaun.   Since I haven't really crafted in a long time, I went with a simple project.


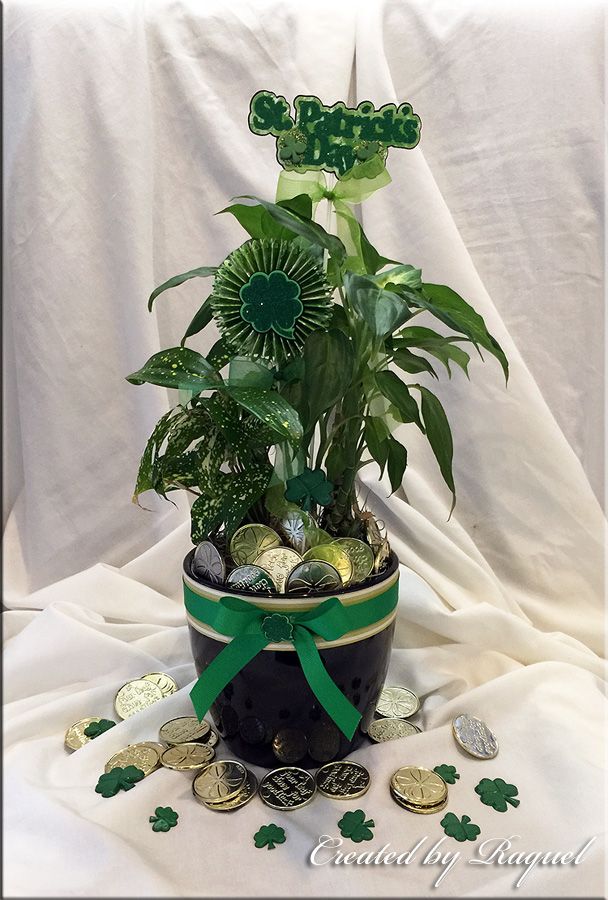
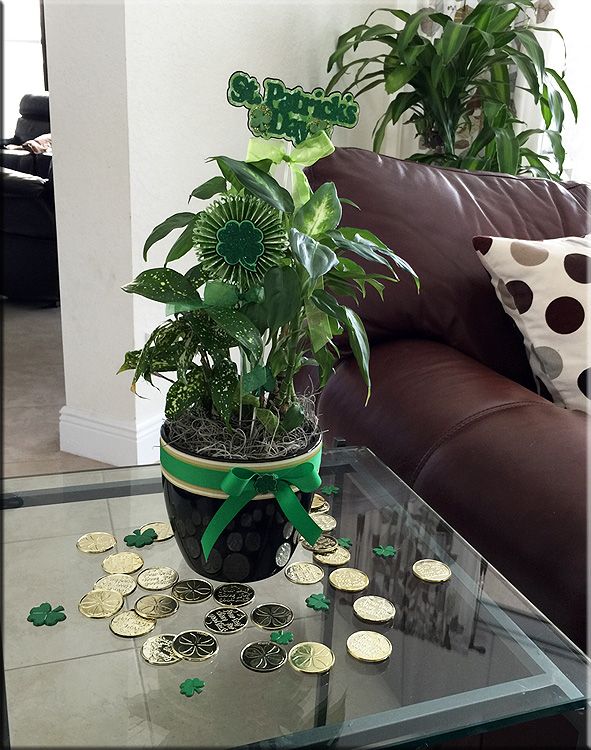
Since I don't celebrate St. Patrick's Day, I don't have any decor at home for this holiday.  I bought a black ceramic pot at the dollar store that reminded me of a pot of gold.  I decorated it with a strip of St. Patrick's Day themed papers from Recollections and layered it with kelly green gro-grain ribbon.  Then with my new Cricut Explore (yes, I finally got one), I cut the St. Patrick's Day label and the four leaf clovers.  I used emerald glitter to cover the cuts.  The fanned flower was created using a Fiskar border punch.  I also embellished with some three leaf clover buttons I got from Michael's. 


I stuck these cuts to an existing pot of plant I had in the living room and used the gold coins I got from the dollar store.  The planter is currently displayed now in my living room so guests can see it as they come in the house.  I actually like the idea of decorating a planter for every holiday to display in my living room


Thanks for looking!

Now... it's your turn to create something spectacular and join us over at  My Sheri Crafts
My Sheri Crafts #140

Angels


Angels... the new challenge over at My Sheri Crafts!  Design Team Sister, Peachy, had asked us to celebrate "Be an Angel" Day on August 22nd, by creating any angel project

Have you ever seen a craft project and thought they are the most adorable things ever?  Then you think to yourself... "I can make that!"


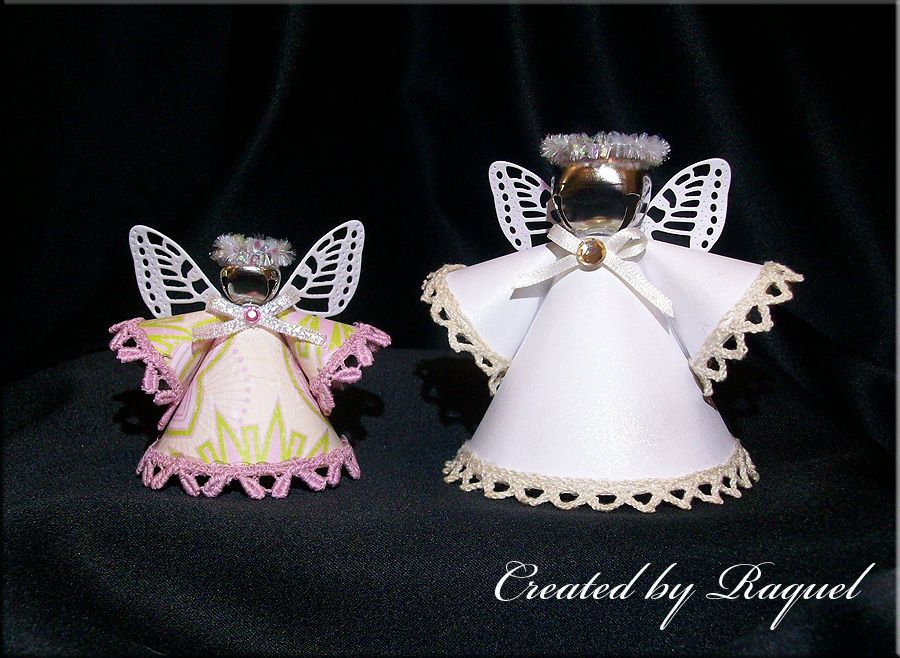
Well that's exactly what I did with these angle ornaments.  I've seen so many of them online and decided to attempt and make them myself


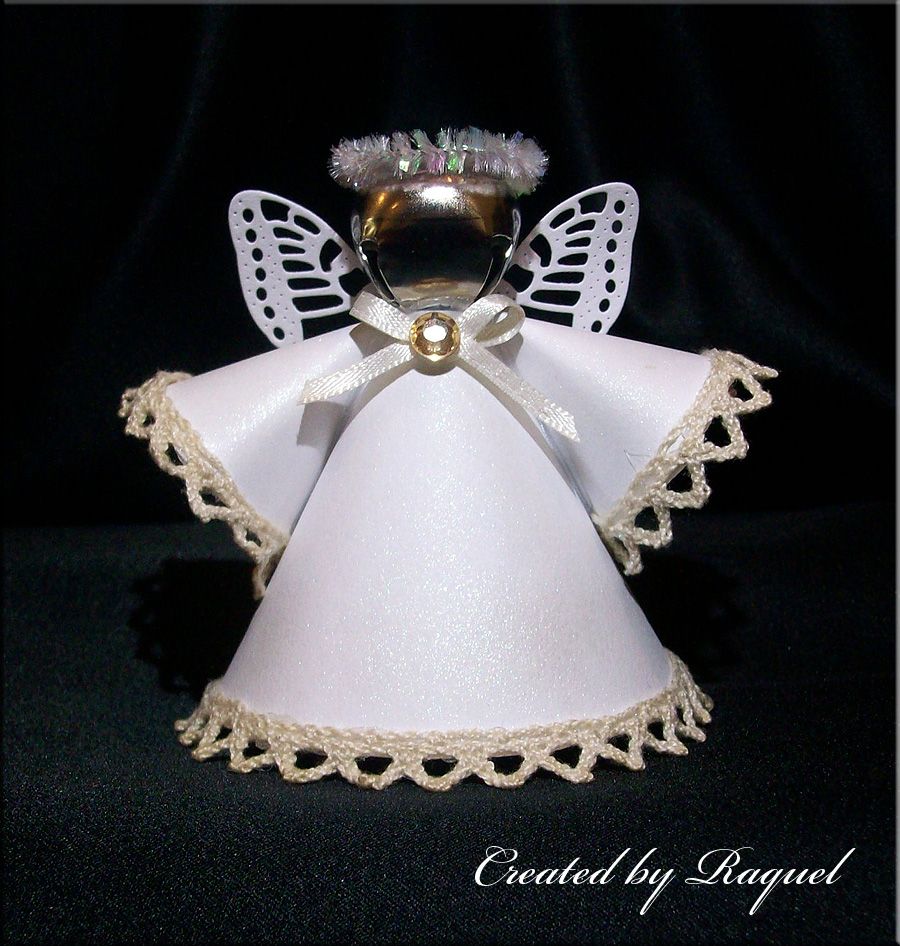
This white one was my first attempt.  I used plain white cardstock and brushed it with white perfect pearls.  The trimmings were from a stash I received from Design Team Sister, Charlotte.  The wings are Cheery Lynn die cut of a butterfly.  The head is a bell you often see in crafts during Christmas time and it's perfect for hanging up the ornaments.  The halo is made from a glittery piece of pipe cleaner


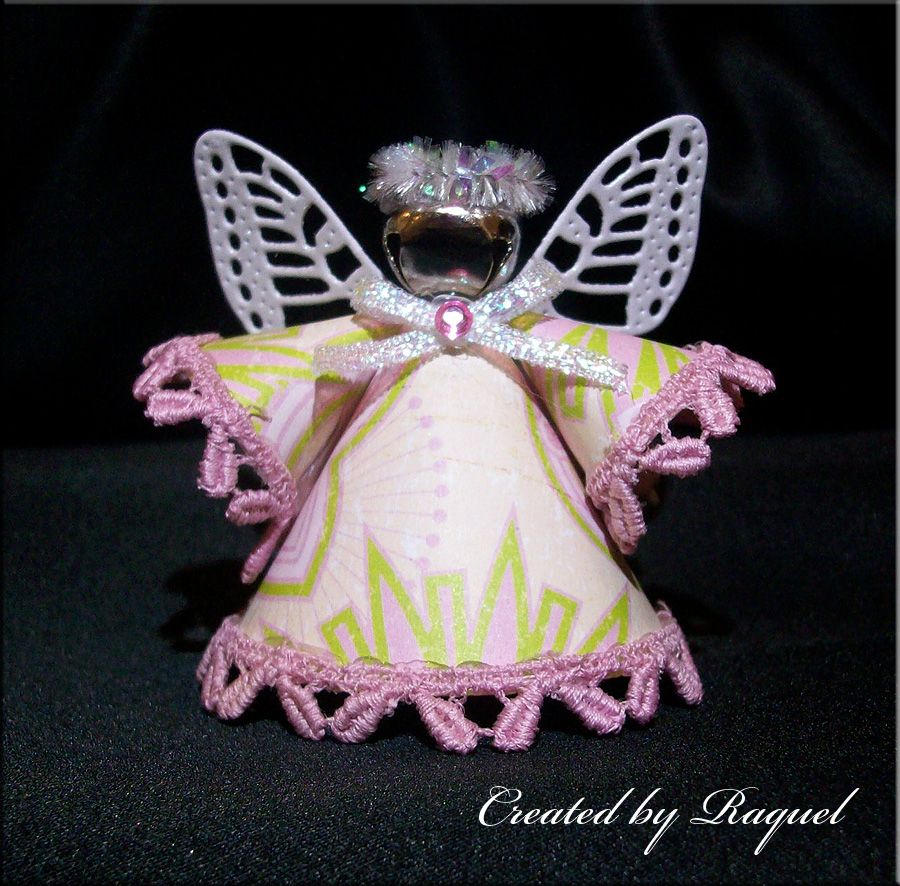
My second attempt is a smaller version and a more perfect size ornament.  I also decided that angels don't always have to wear white, do they?  So, into my stash of scrap papers I go!  The trimmings are also from Charlotte... thank you Charlotte!

Well, what do you think?
 

Thanks for looking!

Now... it's your turn to create something spectacular and join us over at  My Sheri Crafts

My Sheri Crafts #130


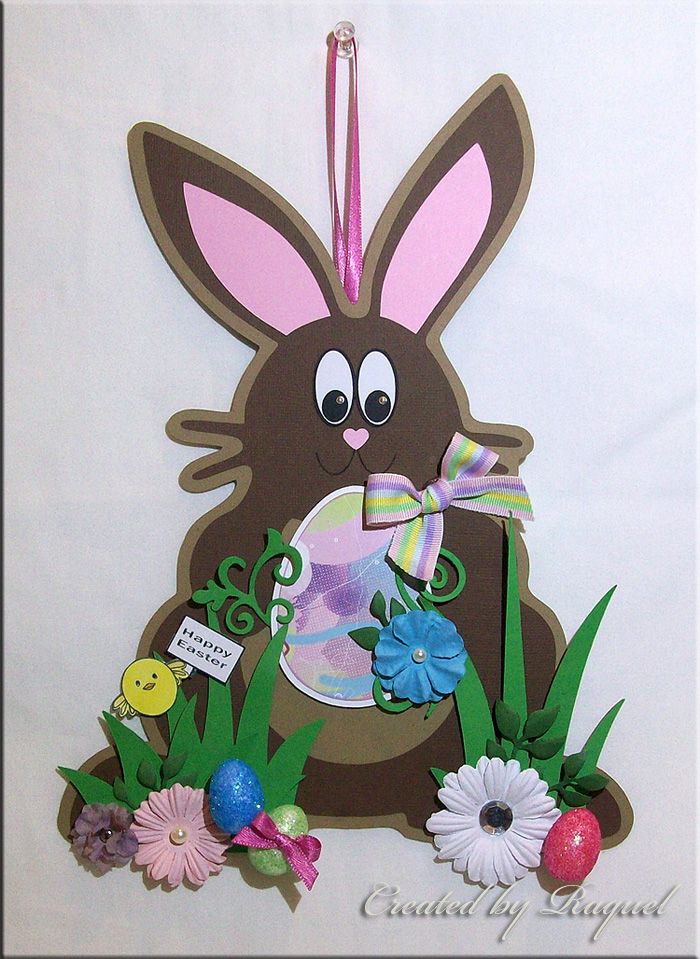
The new challenge over at My Sheri Crafts is to create any project except a card.  Design Team Sister, Sarah, had asked us that this project be of Easter theme.  Decorating for Easter has always been all about the kids so instead of making something in the elegant side, I decided to make something more kiddie.

This is what I came up with...


You got it... BUNNIES!  These are wall decor but I will be hanging them on 3 different doors inside the house.  I made them all from the same cut.  I found an image of a bunny silhouette on the internet and cut it with SCAL (Sure Cuts a Lot)The eyes and inner ears are also cut with SCAL.  I used Cricut cartridges for the rest of the cuts.  The egg is from Art Philosophy, tall grass from Create a Critter, and the short grass is from George and Basic Shapes.  I used Liquid Pearls for the small dots on the eyes to give it some shine.  The flourish around the paper egg and the small leaves are Sizzix die cuts.


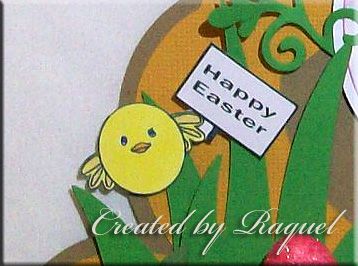
The cute chick holding up the "Happy Easter" sign is a stamp I got for $1 at A.C. Moore then colored with Copics.  The tiny glittered eggs is from a packet of 30 eggs from the Dollar Store and the flowers are from my stash... random flowers I bought from Michael's and JoAnn's throughout the years


Thanks for looking!

Now... it's your turn to create something spectacular and join us over at  My Sheri Crafts

My Sheri Crafts #124


 It's almost that time of the year... my favorite holiday!  Christmas is just right around the corner and had managed to sneak up on us again.  We are doing a "Funky Christmas" theme for My Sheri Crafts this week.  Make any Christmas project using non-traditional Christmas colors


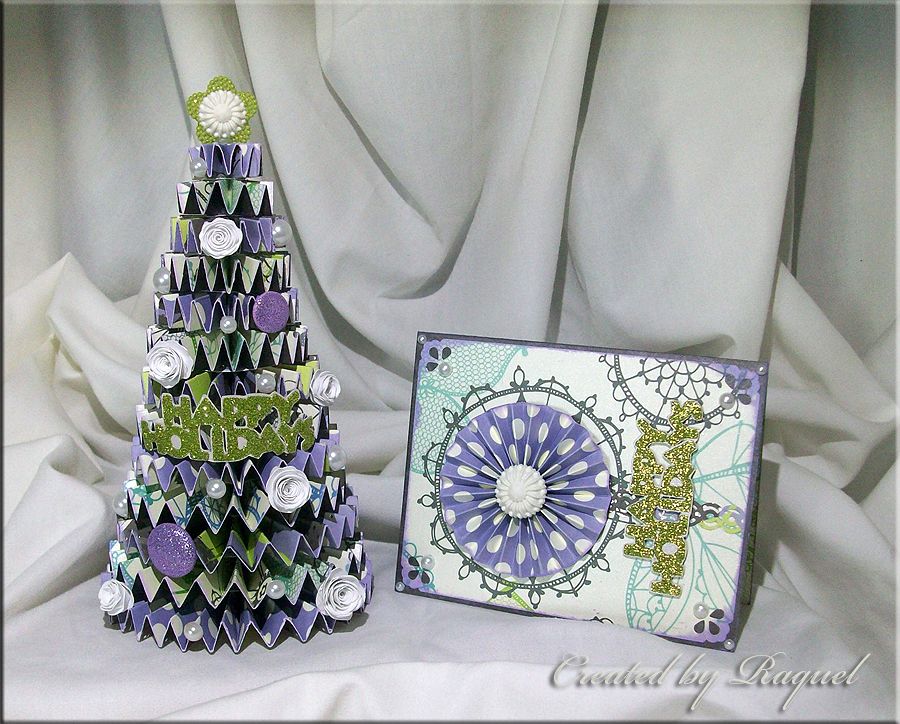
I'm sure you've seen these cute little Christmas trees made from papers before.  I've always wanted to make one of them before so I used this week's theme to do so.  I used coordinating double-sided papers from K&Company and Martha Stewart's scoring board to create the tree.

I made quite a few of those pinwheel flowers you see on the card and stacked them up until I had a good height I was satisfied with.  I used intervals of 0.5" scored on different widths of paper strips starting with 0.75" to 2.00" in height so that the base is around 4.00"

The tree stands at around 7.25" in height with the flower / star on top of it

Thanks for looking!

Now... it's your turn to create something spectacular and join us over at  My Sheri Crafts

Supplies used:

Papers: K&Compaany
Martha Stewart score board
Tons of lavender ink
Cricut cartridge: Artiste - rolled up flowers
Cricut cartridge: Holiday Cakes - "Happy Holidays"

My Sheri Crafts #105

Read Across America


It's time to celebrate reading over at My Sheri Crafts! Read Across America Day is a nationwide reading celebration that takes place annually on March 2... on Dr. Seuss's birthday!  Our theme this time is to create any project that reflects reading in any way

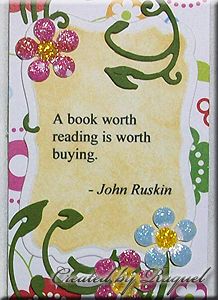
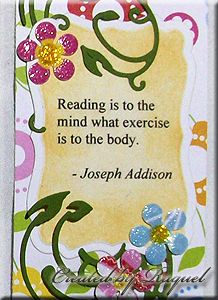
I made four bookmarks... four because that's how much I could make using up these particular coordinating scrap pieces of papers


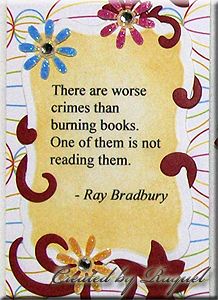
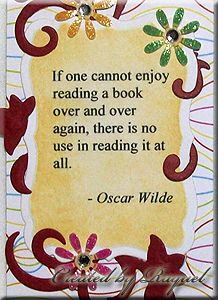
They are fairly simple but with the print on the paper... it seems a bit busy.  I suppose adding all the flourish didn't help make it look "un-busy" either.  Each bookmark has a quote I liked that I found online


I used Spellbinders for these flourish and a Fiskar flower punch


I used Cheery Lynn for these flourish and a Fiskar flower punch


Thanks for looking!


Now... it's your turn to create something spectacular and join us over at  My Sheri Crafts
Supplies used:
Papers - DCWV
Quotes are downloaded from online and printed
Close to My Heart - inks
Cheery Lynn - green flourish and all butterflies
Fiskars - flower punch
Spellbinder - frames and red flourish
Stickles

My Sheri Crafts #102

Got Snow?


Our theme this week over at My Sheri Crafts is to create any project that includes a snowman figure

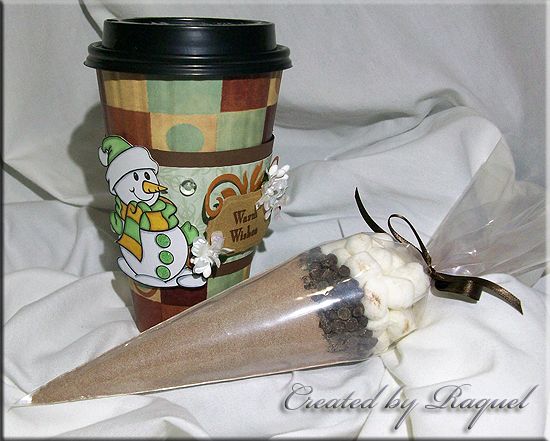
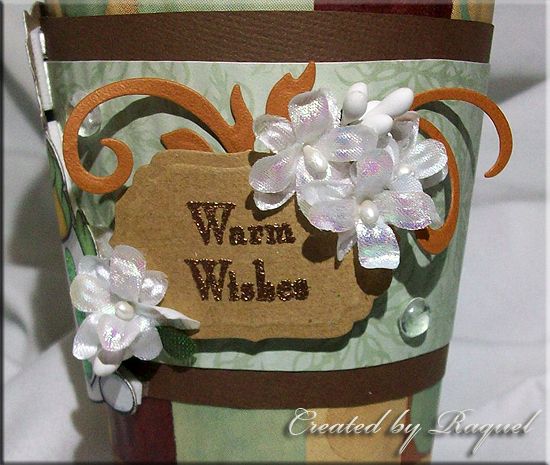
I decided to decorate one of my many left over disposable cups I bought from Sam's Club.  Yeah... a ton of left overs that didn't get used up for the holidays.  Well why not?  I love the colors on it so I thought it would make a great background


I basically used up what I had around the house for this project.  The hot chocolate mix, the chocolate chips, and marshmallows were all from the cupboard!  Shhhh!  I used a Wilton's cake decorating bag to make the hot chocolate mix!  No one can tell from the picture so it will be our little secret.


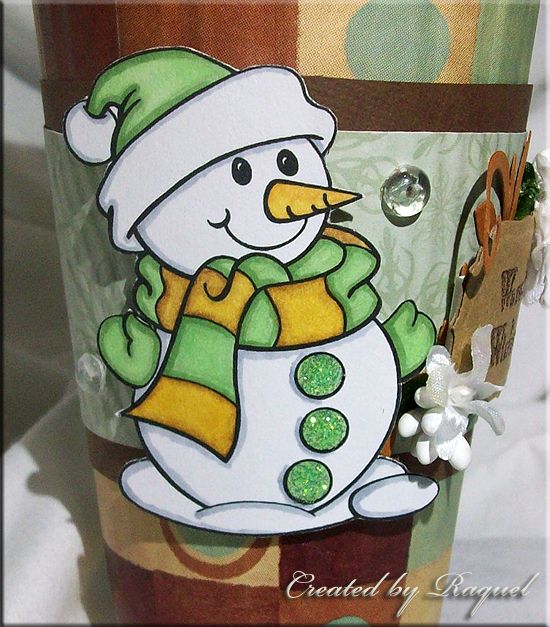
I downloaded this cute snowman image from Christmas Coloring Pages and colored it with Copics... I tried to get the same colors as the background on the cup as close as I can.  I used glitter glue Stickles for his buttons


For the label... a stamp and heat embossed!  I used a Spellbinder for the frame and the flourish and lots of clear tiny skittles stuck all over the cup

Thanks for looking!


Now... it's your turn to create something spectacular and join us over at  My Sheri Crafts
Supplies used:
Papers - Recollections
Copics
Heat Embossing Powder
Spellbinder - frame and flourish
Stamp - "Warm Wishes"
Stickles 

My Sheri Crafts #94


It's time for a new challenge over at My Sheri Crafts!  This time around, we are to create a Family themed project or  project for someone in your family.

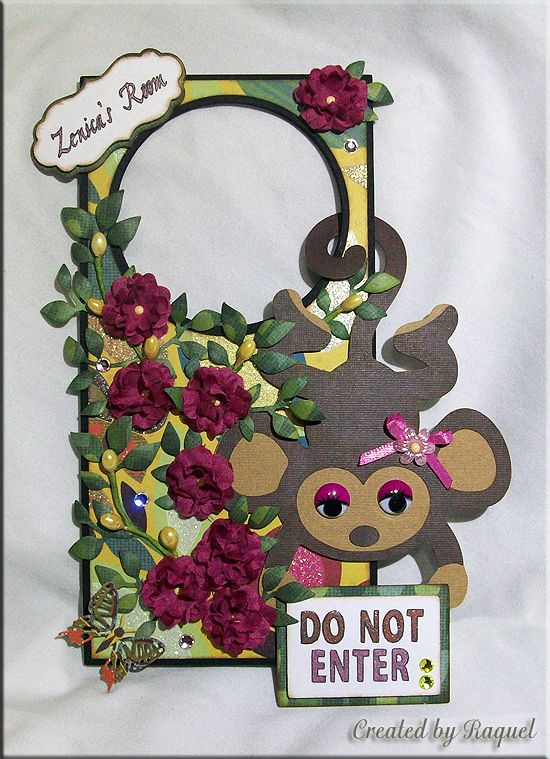
I was originally going to do an altered picture frame or a layout but I got a request to make a door hanger from one of my daughters.   We are moving soon to a new house (whenever they finish building it), and she will be getting her own room (no more sharing with her sister!).  She loves monkeys so I had to make something with a monkey on it.  Here is what I came up with...


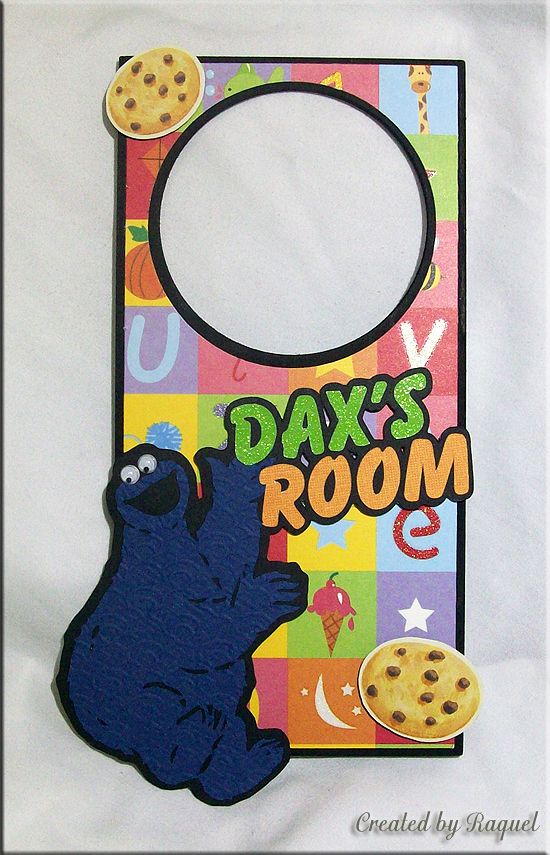
I decided to go ahead and make one for my other kids as well... the next two are fairly simple.  My 4-year old son still sleeps with his Cookie Monster stuffy.  We love Cookie Monster!


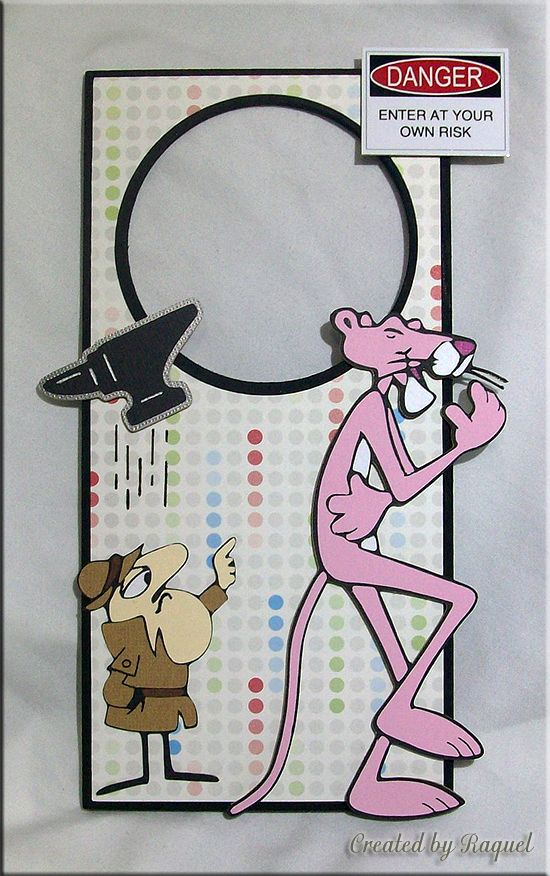
This last one is for my eldest... she loves Pink Panther and she's not very much into "girlie" stuff anymore.  Although this is pretty plain and simple... it was actually the hardest one to make.  I had to create the cuts since there are no cartridges with these characters in it


Supplies used:

  • Cricut Design Studio
  • Sure Cuts A Lot
  • Sizzix - leafy branch 
  • Various gel pens
  • Cricut cartridges:
    • Elmo and Friends
    • Home Decor 
    • Life's a Party
    • Old West
    • Stone Script

My Sheri Crafts #93


Another two weeks has gone by and it's time for a new challenge over at My Sheri Crafts.  The theme this time is all about white... following the old tradition of not wearing white AFTER Labor Day.  Create a project using white on white!  

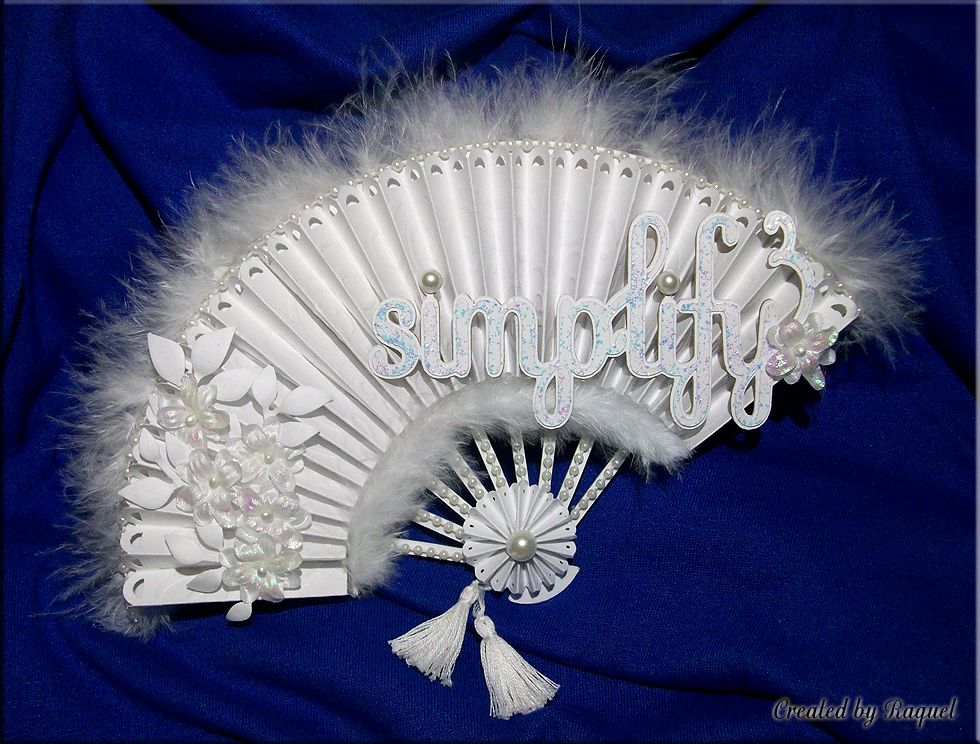
Here is my project... all white elements with different textures.  It's a bit hard to see in the picture, but the fan itself is actually embossed using Cuttlebug D'vine Swirl but they seemed to have gotten lost within the folds.  The glitter that I used on the sentiment also is a bit off color... I suppose that's the effect of the lighting... seems a bit bluish 


"White on white" seems like a fairly simple concept.  However, to add a little bit of sarcasm, I purposely used the word "simplify" because my project was anything but simple.  I used a lot of different elements and dimensions including one of my all time favorites... poof poofs!

Thank you for looking... I hope you had enjoyed your visit.  Have a great day... now let's get crafting!

Supplies used:

  • Cricut Design Studio
  • DMC cross-stitching floss - to make the tassels
  • ek success border punch
  • Feather
  • Feather boa
  • Fiskar border punch
  • Martha Stewart scoring board
  • Sizzix - leafy branch 
  • String of pearls
  • Cricut cartridges:
    • Home Decor -"simplify"
    • Pagoda - fan

My Sheri Crafts #92


It's that time of the year again!  Back to School!   So, what better way to celebrate this awesome event?  Make a project that features anything that has anything to do with school.   So come join us over at My Sheri Crafts and share your school creations!


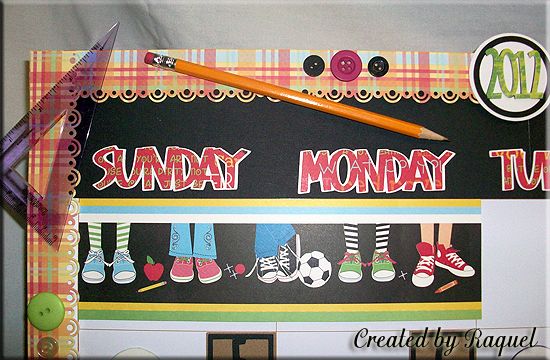
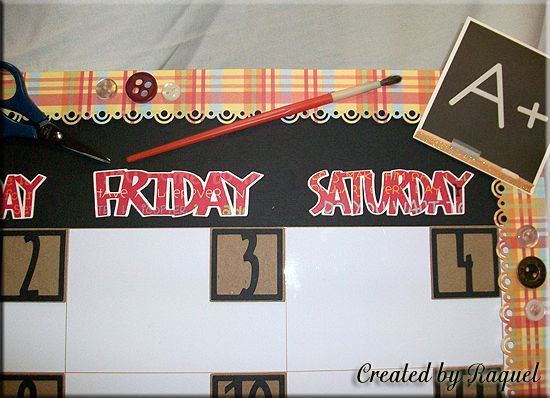
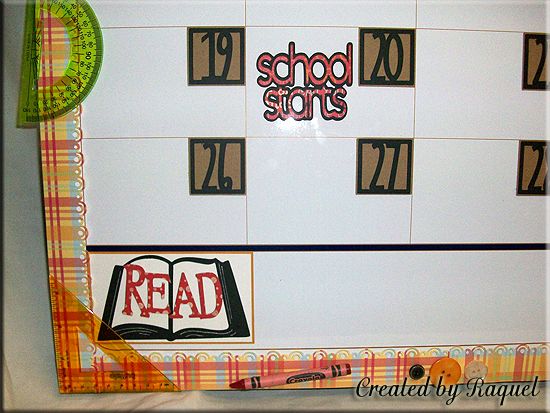
For my project, I decided to alter a large magnetic white board calendar to keep track of all my kid's school events plus any other activities and special events for each month


Most of the papers came from DCWV: School Stack and this particular large piece with the shoes came in handy to cover up a large block of unused calendar space


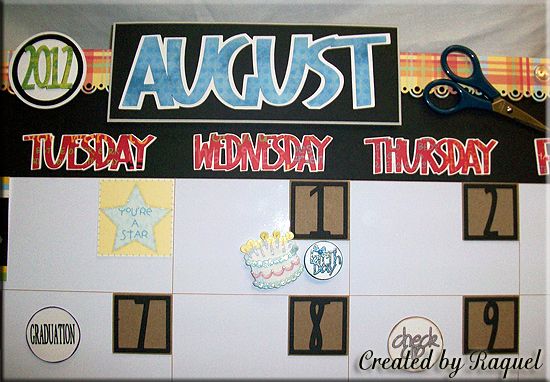
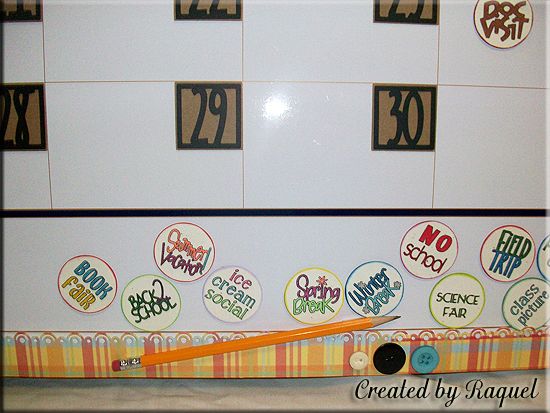
I used Designer's Calendar cartridge for the months and all the dates and a lot of the event buttons


A Child's Year cartridge came in handy for the book with "READ" already welded into it.  This particular cut is covering the word "NOTES" that was pre-printed with the white board


I used a variety of cartridges to make all the event buttons.  All the different buttons were made using a 1.5" punch after I printed out the different events using the Cricut and a Quickutz Pen


The bus cut from Stretch Your Imagination cartridge covers up an unused calendar block... I didn't want to leave any spaces open

Supplies used:
  • Office Max 35.5" x 23.5" magnetic white board calendar 
  • Papers - DCWV
  • Various school supplies I had laying around
  • Various ink pads
  • Single buttons from my stash
  • Magnets
  • Cricut Design Studio - to create the event buttons
  • Fiskar border punch
  • Fiskar 1.5" circle punch for all the buttons
  • Glitter Gel Pens
  • Quickutz Pen - used to draw the events with the Cricut
  • Cricut cartridges:
    • A Child's Year
    • Designer's Calendar
    • Don Juan
    • George and Basic Shapes
    • Plantin Schoolbook
    • Printing 101
    • Stamping 
    • Stone Script
    • Stretch Your Imagination
    • Wild Card

My Sheri Crafts #91


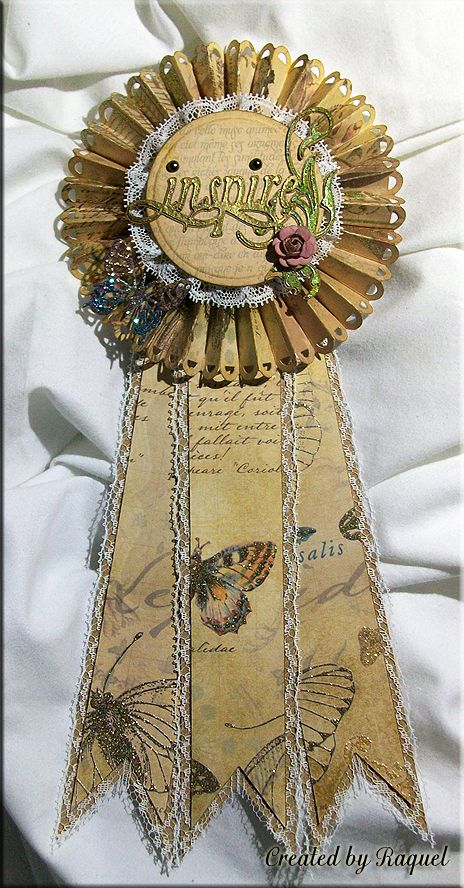
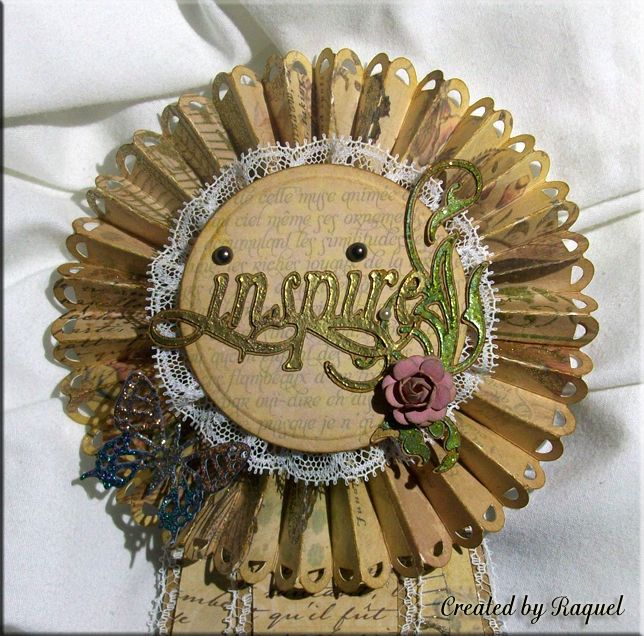
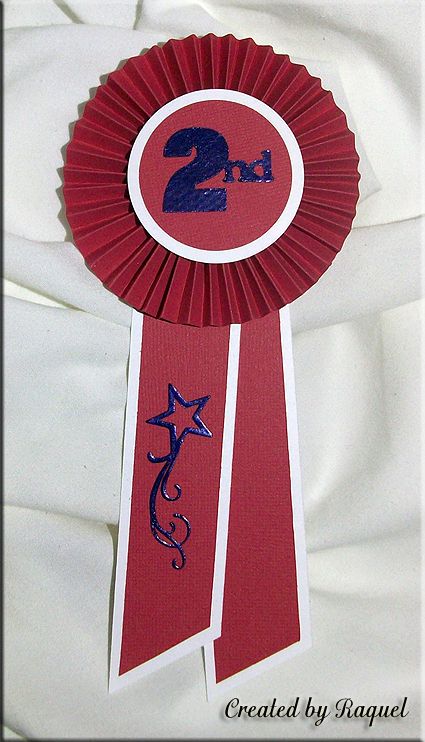
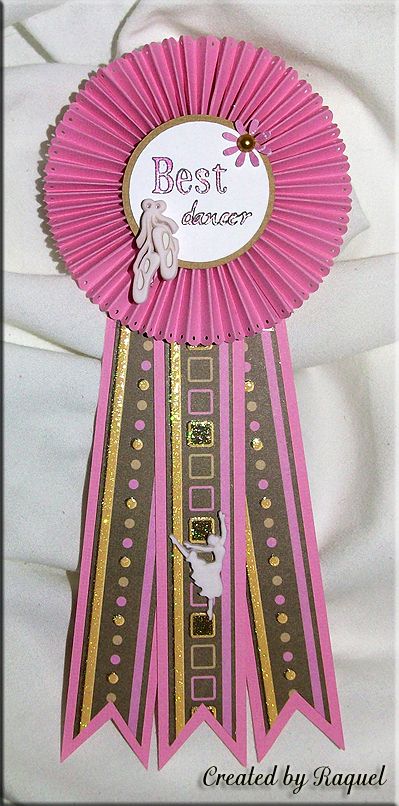
This week's theme over at My Sheri Crafts is to use a rosette on any project.  I decided to make award ribbons.  I made a few for now but will make more in the future.  Three of these I will use for scrap booking and one to actually hang up.  Here are the ones I made...  now let's see your creations!

The rosette was made using a Fiskar border punch and scored at every scallop, then cut at 2" strip. "inspire" and the flourish were heat embossed, the flower was made using 5-layers of a Fiskar flower punch, and the butterfly is a Cheery Lynn die and covered with stickles


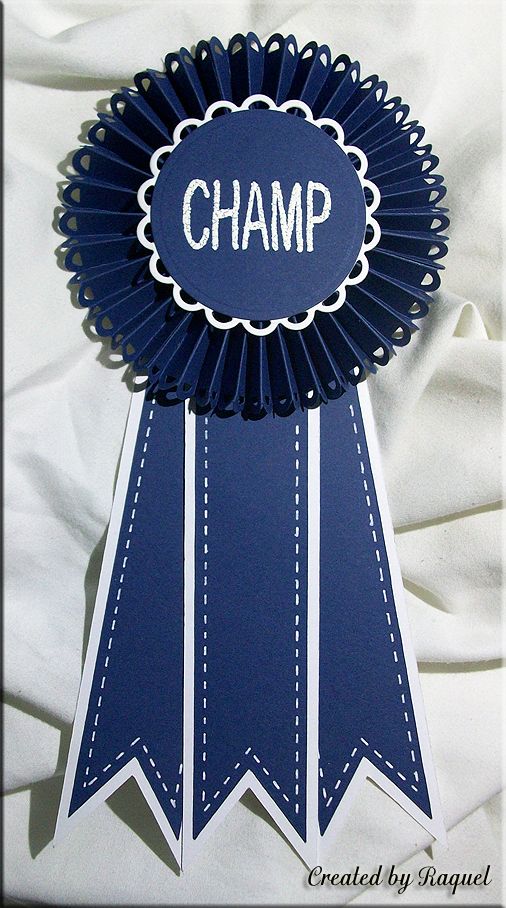
This rosette was also made using a Fiskar border punch, scored at every scallop, and cut at a 2" strip.  The CHAMP was made using SCAL and Quickutz pen then heat embossed.  The white faux stitches were made using a white gel pen


Using a 1.5" strip x 11.5" and scored every .25" for the rosette.  The 2nd and the flourished star were cut and heat embossed


 This rosette was made using an ek border punch and scored at every scallop.  The sentiment was made with Cricut using Quickutz pen and then colored with glitter gel pen

Supplies used:
  • Papers - DCWV
  • Cheery Lynn - butterfly
  • Cricut Design Studio - to create the background templates of the ribbon head and stem
  • ek success border punch for the "Best Dancer" ribbon
  • Fiskar border punch for the "Inspire" and "CHAMP" ribbons
  • Fiskar flower punch
  • Martha Stewart score board
  • Spellbinder - scalloped circle and circle dies
  • Cricut cartridges:
    • Home Accents - flourished star and "inspire"
    • Plantin Schoolbook - "Best" and "2nd"


My Sheri Crafts #87


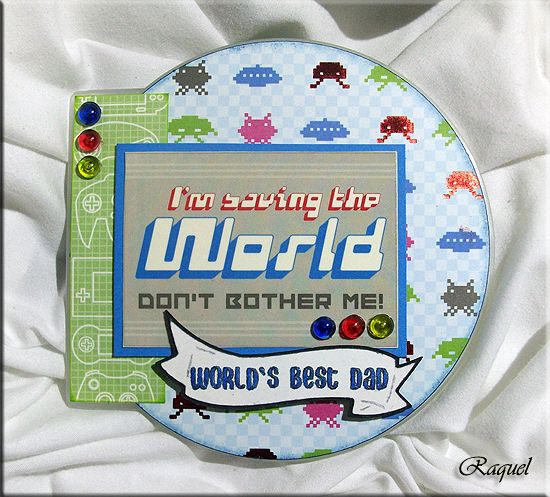
Hello hello... once again, it's time for another My Sheri Crafts theme project!  This time around... something to honor the "fathers" in our lives.  For my project, I have decided to honor the "gaming fathers" in my life (which I know quite a few of).  I decided to use the Generations stack for my gaming papers for my altered CD cover project


Now let's see what you come up with!  Come join us at My Sheri Crafts with your Father's Day projects
  • Papers - DCWV
  • Alcohol inks - skittles
  • Quickutz pen - "World's Best Dad"
  • Cricut cartridges:
    • Don Juan - "World's Best Dad" colored with glitter gel pen
    • Fabulous Finds - Circles
    • Wedding - banner

My Sheri Crafts #86

It's time for a new My Sheri Crafts theme challenge!  For this theme, we are to create any project that represents summer.
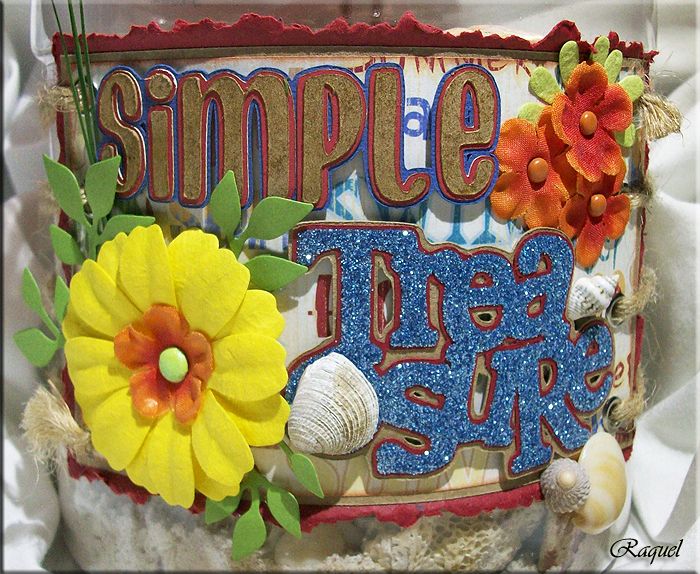
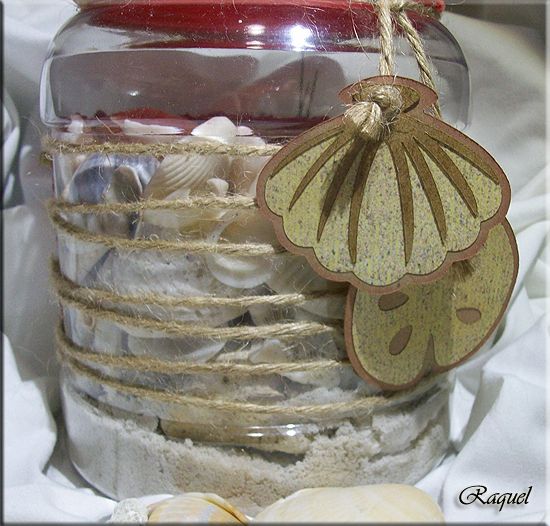
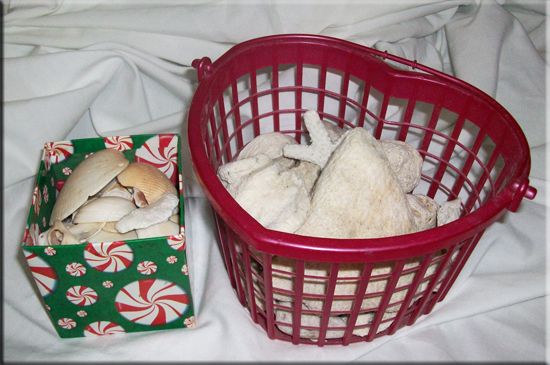
I found this theme to be the perfect opportunity to showcase my daughter's "beach finds."  Each time we go on a cruise, she would spend time looking for shells and corals at the beach instead of swimming.  Since we're not really supposed to take anything from the beach, she would only collect a handful of things at a time and would put them in her pocket or bag and sneak them in the ship.

As you can see, she's collected quite a few things.  I suppose it helps that we go on a cruise at least twice a year each year.

I used a plastic jar that used to hold candies in it.   I kept the lid undecorated so no pieces of crafts would come off each time she twists it open and close.   I used a tearing tool for the red base cardstock... I kind of wanted a rustic look but the use of glitter on "treasure" just threw that idea completely off.  Well, it's for my 9-year old so I still wanted to make it cute and fun.  I used some of her smaller shells on the actual label. 
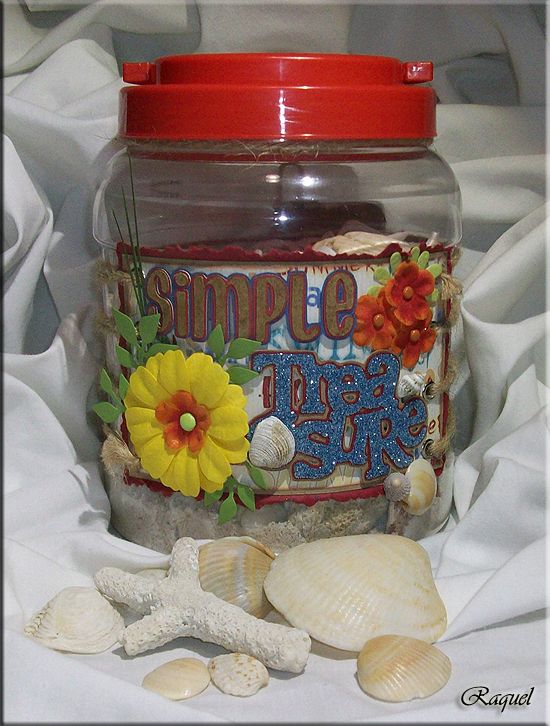

I also used 4 eyelets on each side to tie up hemp rope to make it look like the label is only being held on by the rope.  Here's a view from the back

This is how my daughter was storing her "beach finds" and tucked away in her closet completely forgotten 

Now, she can show it off outside of her closet and keep them from spilling everywhere 


Supplies and Tools used :
  • Papers - DCWV
  • Crop-A-Dile - eyelets
  • Fiskars tearing ruler
  • Sizzix - leafy die cut
  • Xyron - on the "treasure" and covered it with glitter
  • Cricut cartridges:
    • Don Juan - "Simple"
    • Gypsy Wanderings - "treasure"
    • Stretch Your Imagination - shells